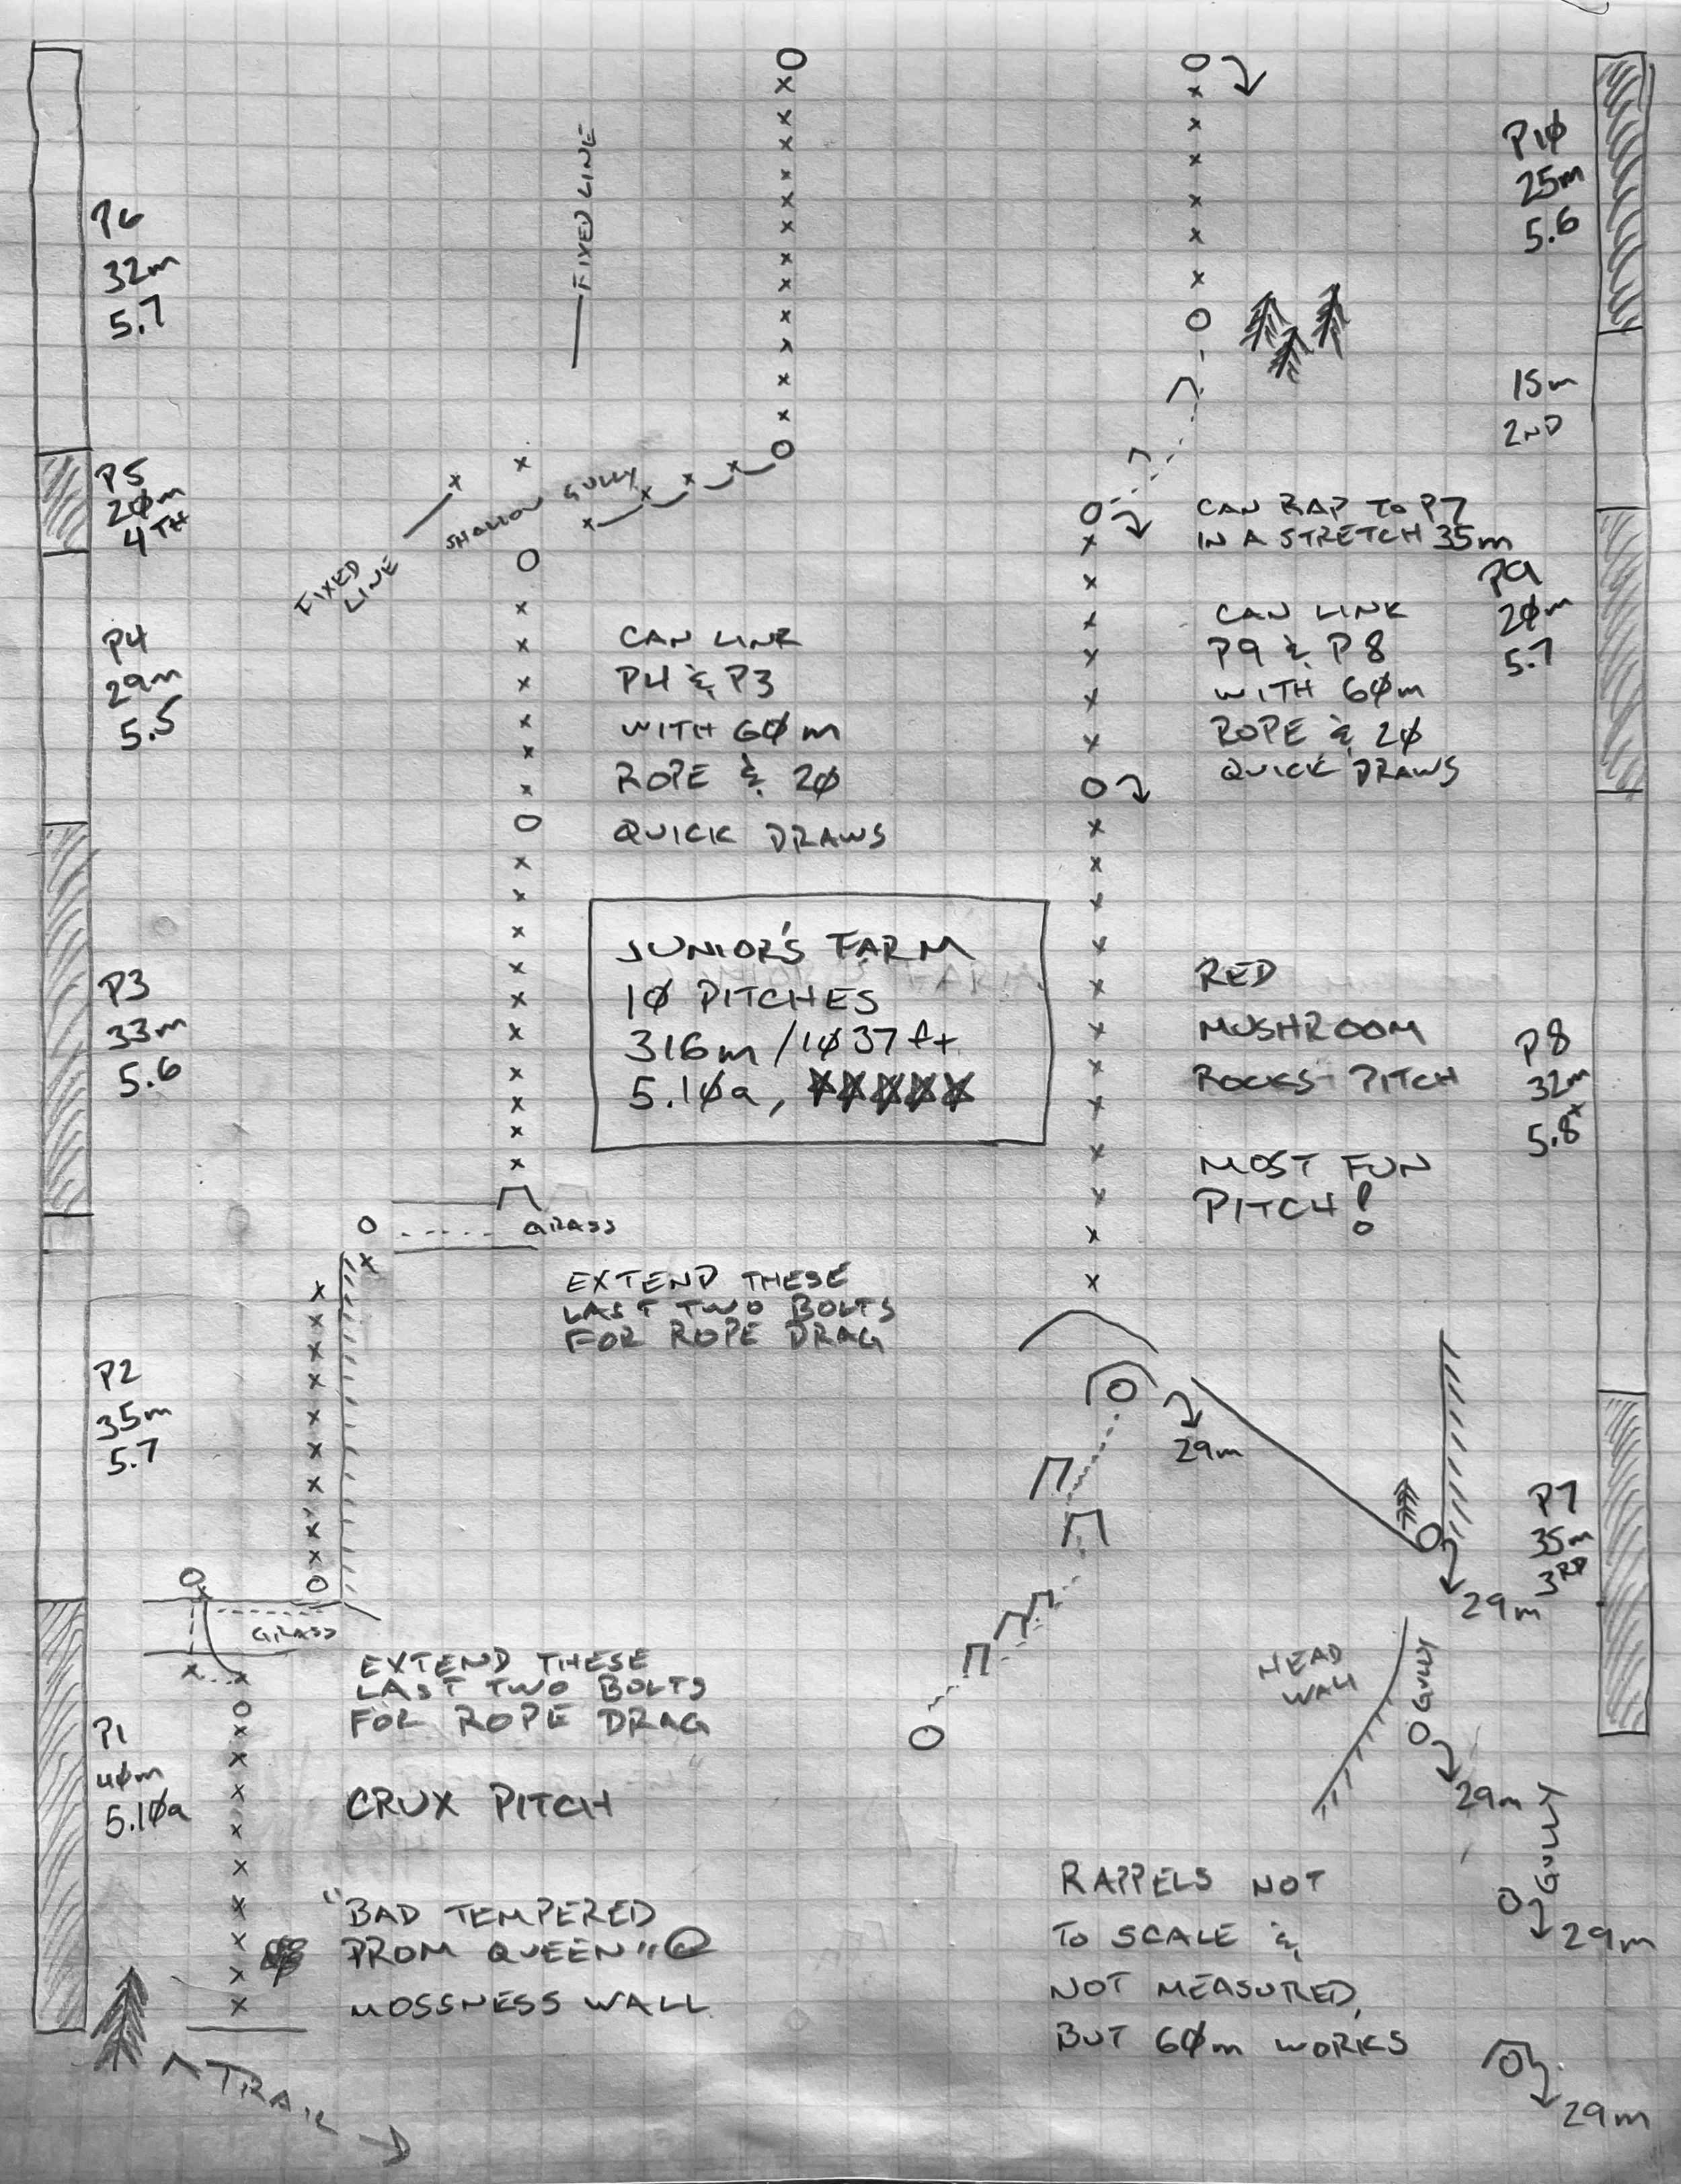
Yesterday I climbed the route for the fourth time and took pretty good notes as we went.
Junior’s Farm is a 316m / 1037ft multi-pitch sport route on Tyler Peak, bordering the edge of the Buckhorn Wilderness. Originally graded 5.8 and now called 5.9-, the first pitch is the most 5.10-feeling “5.8” I’ve ever experienced, and I won’t continue to pass that sandbag grade on to others. That said, it is an awesome, awesome climb that I strongly recommend to anyone climbing at the 5.9/5.10- grade.
In common euro fashion, I’ve included the 3rd class and 4th class sections as pitches in my topo and description.
The route can be climbed and rappelled with a 60m rope but a 70m will let you easily link up a couple of pitches if you like, let you link up one of the rappels, and give you some reassurance that you won’t rap off the ends.
All anchors are vertical chain and ring (except the bottom of pitches 2 and 3), so all can be simply clipped in directly or with a master-locker. Bring one cordellette in case the anchor at the bottom of pitch 3 needs to be replaced or reinforced.
10 quick draws and two alpine-draws will protect all the pitches, but if you carry 18 draws and two alpine-draws you can link up pitches 3 & 4, and 8 & 9 - but you’ll loose the awesome photo position from the top of pitch 3 and 8.
I typically carry a belay device with an HMS locking carabiner, three more locking carabiners, an autobloc cord on a locking carabiner, and a double-length sling on a non-locking carabiner (primarily for my rappel tether, but also the occasional anchor). There is plenty of loose rock still on this route, so helmets are well advised.
I’ve also included some “notes-to-self” about what I’d bring/do differently next time.
Approach:
Find the Tyler Peak Trailhead on Google Maps or follow this link: https://maps.app.goo.gl/BS6v3EVSzFz1QoDy8. It’s about a 45 minute drive from Sequim. The climbers’ trail for the Mossness Wall and Tyler Peak starts at an inside corner 0.5 mile before the Trailhead - there is a pullout on the outside that will fit 1-2 cars. I built up a substantial cairn at the trail as well. Follow the climbers trail for five minutes to the Mossness Wall. Pitch 1 is “Bad Tempered Prom Queen”, immediately to the left of a vine maple growing 3m / 10 feet above the start.
Bring a pair of clippers to trim back the trail as needed.
Pitch Description:
Pitch 1 - Bad Tempered Prom Queen, 5.10a, 40m, 12 bolts. Now officially rated 5.9-, this was the most sandbagged 5.8 ever. My 5.10a rating is my honest opinion of what it really is. Bolts are well-spaced but not quite R-rated - expect some fun air time if you whip. After clipping the anchor, continue up to two more bolts that protect the exit to the grassy bench/ledge. Clip these with extended alpine draws to reduce rope drag. Call it sandbagged 5.8, 5.9-, or 5.10a - it’s certainly the crux pitch of the route.
Bump 20’ right to the beginning of Pitch 2.
Pitch 2 - 5.7, 35m, 10 bolts. Up the dirty corner - but stay on the left side as much as possible until the end. Clipping the last two bolts with extended alpine draws will again reduce the rope drag at the anchor.
Shrubbery is starting to grow out of the crack again: bring a pair of clippers to trim back.
Bump 30’ right to the block at the start of Pitch 3.
Pitch 3 - 5.6, 33m, 10 bolts. An awesomely fun romp up the wall. If my cordellette from yesterday is now missing, sling the big block at the start for an anchor. Pitch ends on a decent ledge that you can stack the rope on. With a beefier rack you can continue and link up pitch 4, but you miss out on a great photo opportunity of your partners climbing the pitch.
Pitch 4 - 5.5, 29m, 6 bolts. I prefer to continue to the first bolt of Pitch 5 - which is also the start of the fixed line - and is in a much more comfortable stance than the P4 anchor. My pitch length here reflects that.
There is also a single bolt with a quick link in line with the actual anchor, on the other side of the shallow gully mentioned in my topo. A second bolt and chain anchor built here would be a much more comfortable stance for the top of Pitch 4.
Pitch 5 - 4th class, 20m, 4 bolts, fixed. A completely unnecessary fixed rope connects the protection bolts for this pitch.
I’d like to see the fixed rope removed if the higher anchor I mentioned for Pitch 4 gets built.
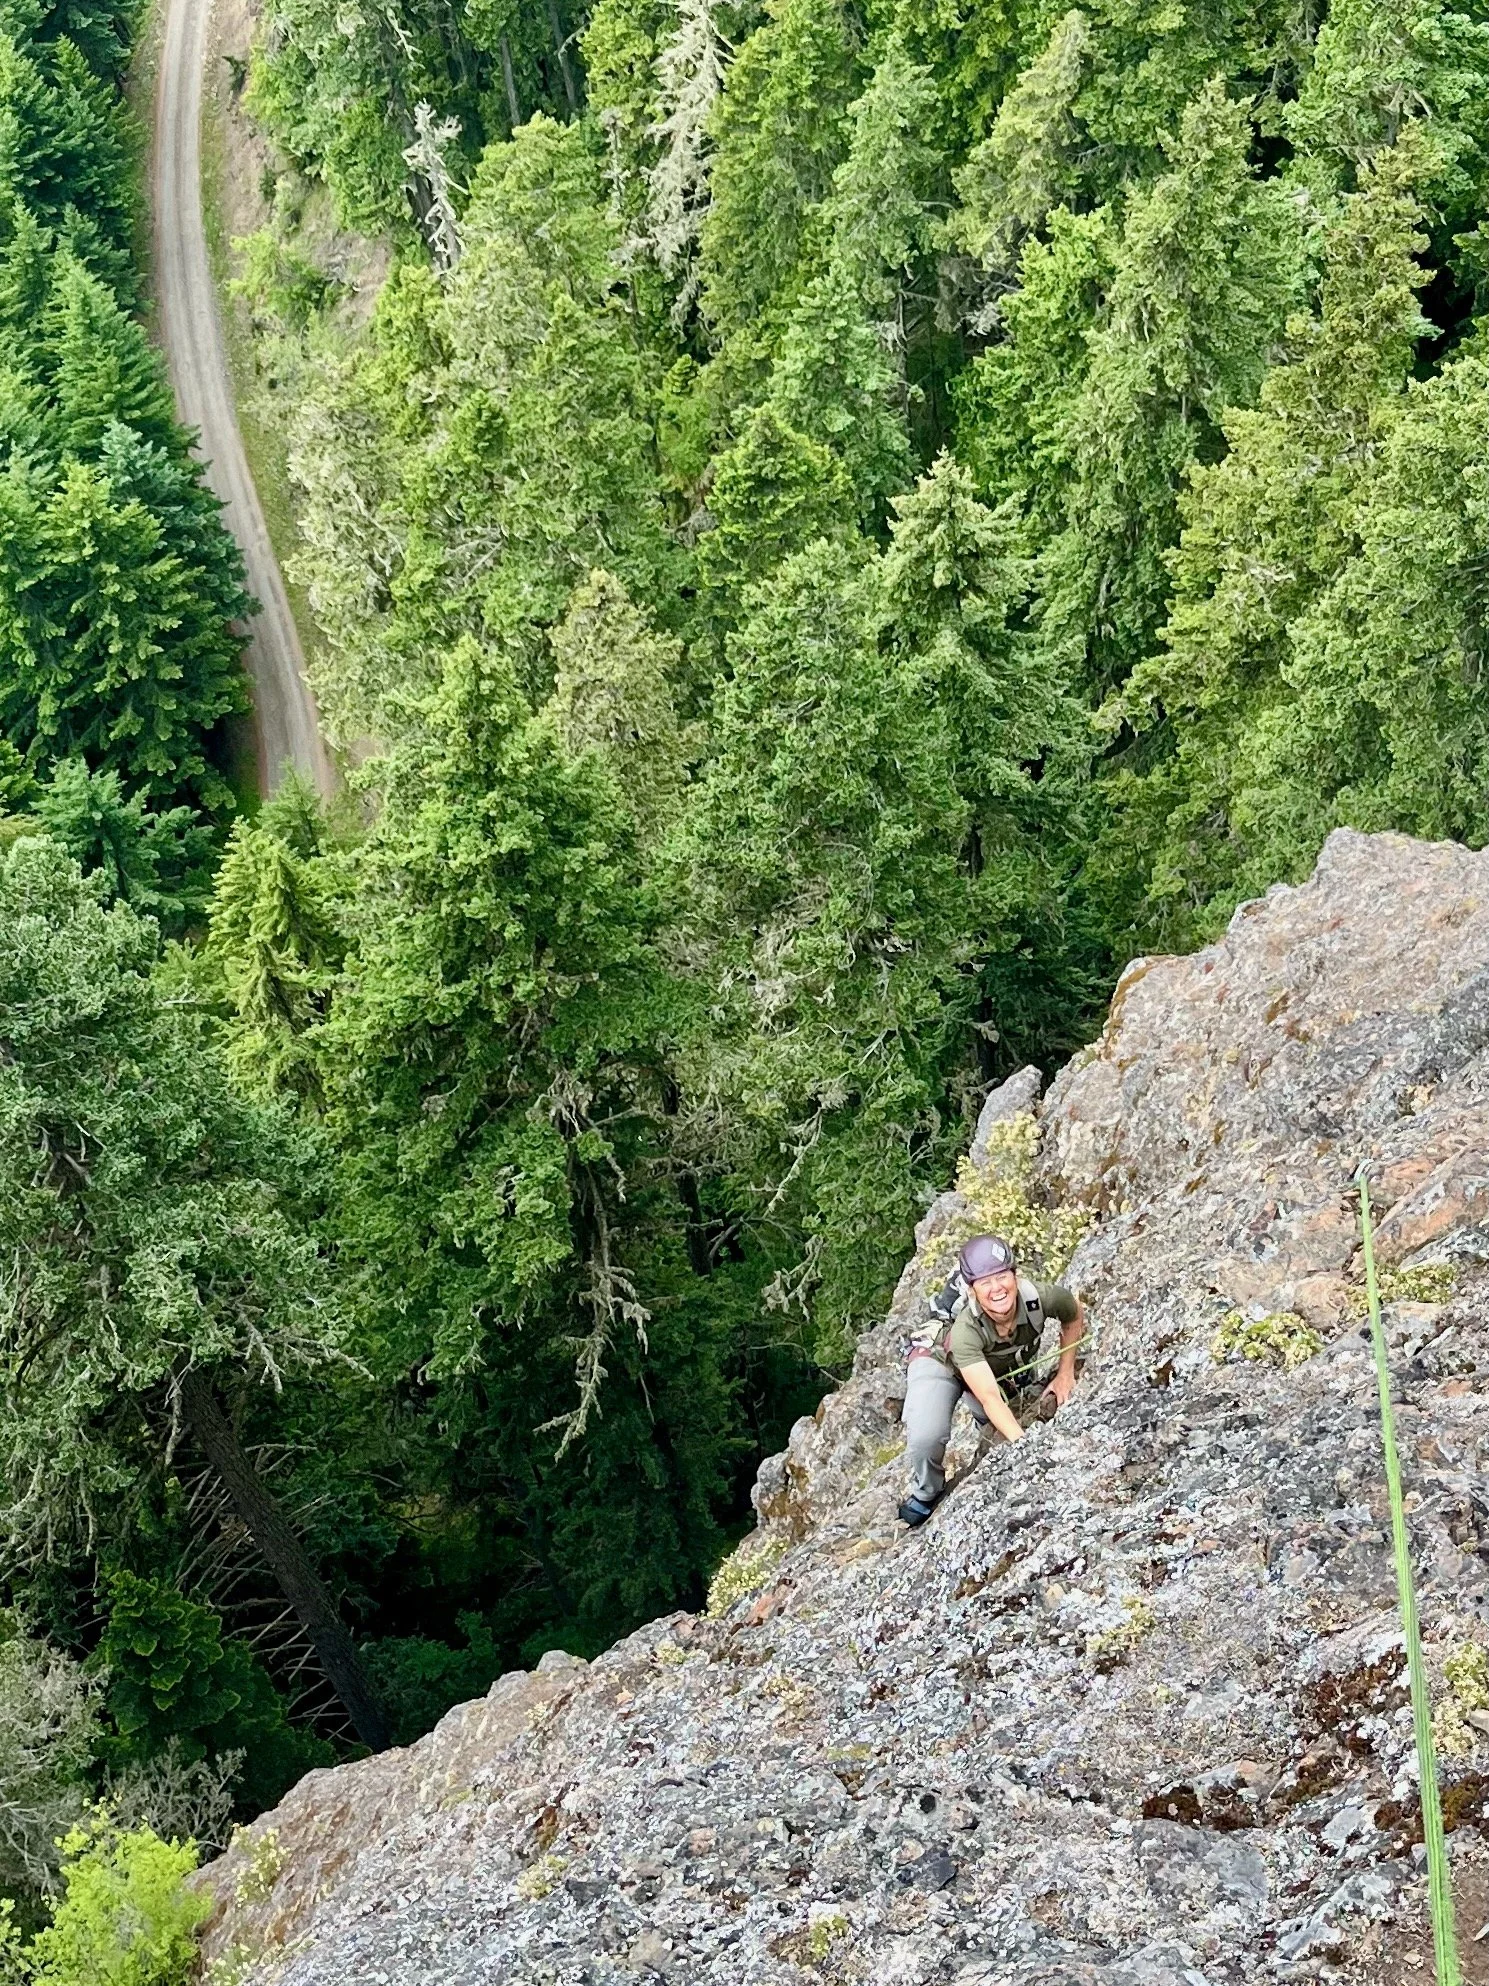
Pitch 6 - 5.7, 32m, 12 bolts. Another wicked fun pitch. Continue past the anchor to the ridge and sling a horn for a more comfortable belay.
It is possible to drill a higher bolt anchor here in the horns - one spot in particular I noticed behind a small bush.
Pitch 7 - 3rd class, 35m. Player’s choice: pitch it out or coil it up and scramble the 35m to the start of the next pitch.
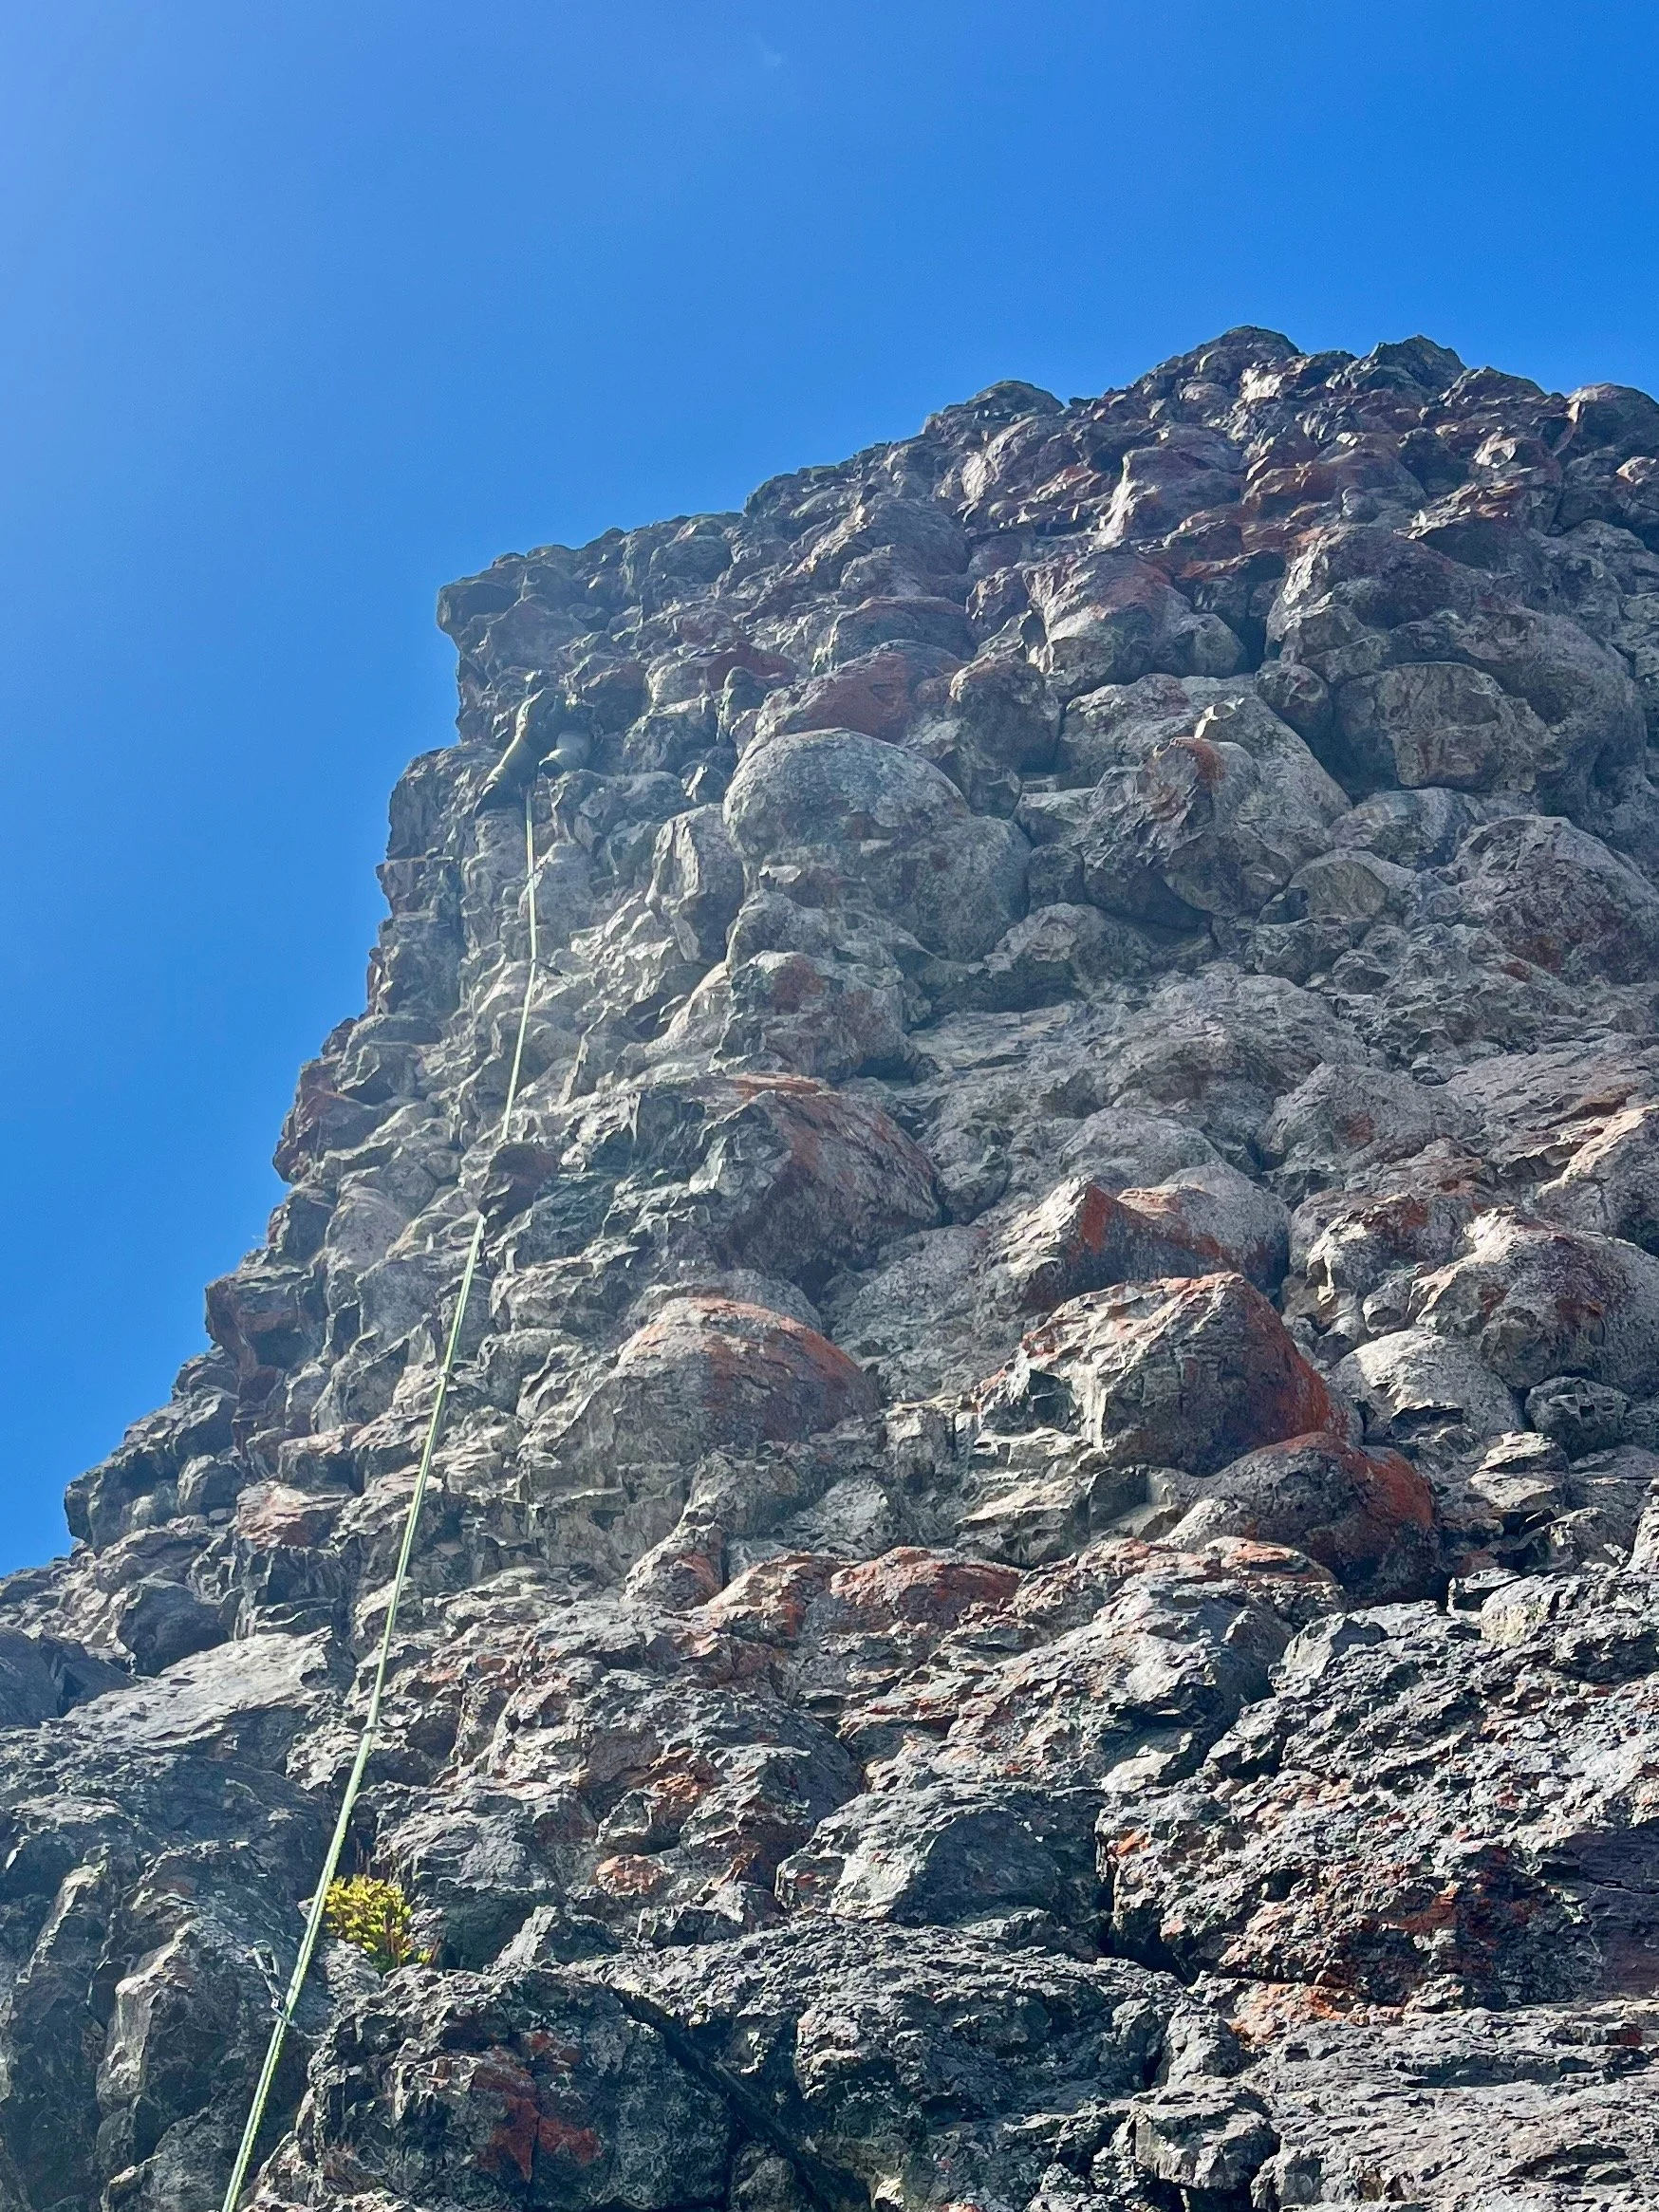
Pitch 8 - Red Mushroom Rock Pitch, 5.8, 33m, 12 bolts. Named by my wife for the awesome rock features on the pitch, this is what we came for. It’s exposed, airy, and completely fun. Completely worth the price of admission. Can be linked up with Pitch 9, but you miss out on the awesome photos you can take of your partner from atop. The belay is a semi-hanging stance, tight for three people.
The bottom of Pitch 8 is also where the rappel route leaves the climbing route. This is a great spot to cache packs if you don’t want to carry them for Pitches 8, 9 and 10.
Pitch 9 - 5.7, 20m, 6 bolts. Continue up the wall, and much like Pitch 6, you can continue past the anchor to the ridge and sling a horn for a more comfortable belay. Another spot to consider for drilling a higher anchor.
Bump 15m up the ridge (2nd class) to the anchor at the bottom of Pitch 10.
Pitch 10 - 5.6, 25m, 7 bolts. A fun final pitch - you can lunch in the 2nd class boulder field above, or top-rope it and take your well deserved break at the bottom of the pitch.
Someday I’d like to adventure along the ridge to the actual summit of Tyler Peak, which I understand is about 3/4 mile further on.
Descent:
All rappels feature the same anchors as the route. You shouldn’t need to leave anchor material behind. Rappels 4-8 are described on the topo as 29m to indicate a 60m rope is adequate - not the actual rappel length.
Rappel 1 - Pitch 10.
Rappel 2 - Pitch 9. You can sling one of the horns above to protect reaching the exposed top anchor of Pitch 9. This rappel is the only one that could be linked, with the Pitch 8 rappel, into a rope-stretched 35m to the bottom of Pitch 8.
Rappel 3 - Pitch 8. Just in case you brought that 60m rope instead.
Rappel 4. From the bottom of Pitch 8, rappel against the headwall along the low angle open corner to the next station just below a short tree. The anchor is directly alongside an open book corner climbing the headwall above.
Rappel 5. Rappel straight down into the first gully climber’s left/skier’s right. Directly in line with the open book corner mentioned above.
Rappel 6. Bump over climber’s right/skier’s left into the next gully.
Rappel 7. Rappel straight down to the grassy bench/ledge that is tantalizingly close to the ground. One last anchor is here on the climber’s right side of the rappel line in a block, well hidden from above.
Rappel 8. To the dirt and a steep “trail” leading back to the Mossness Wall.
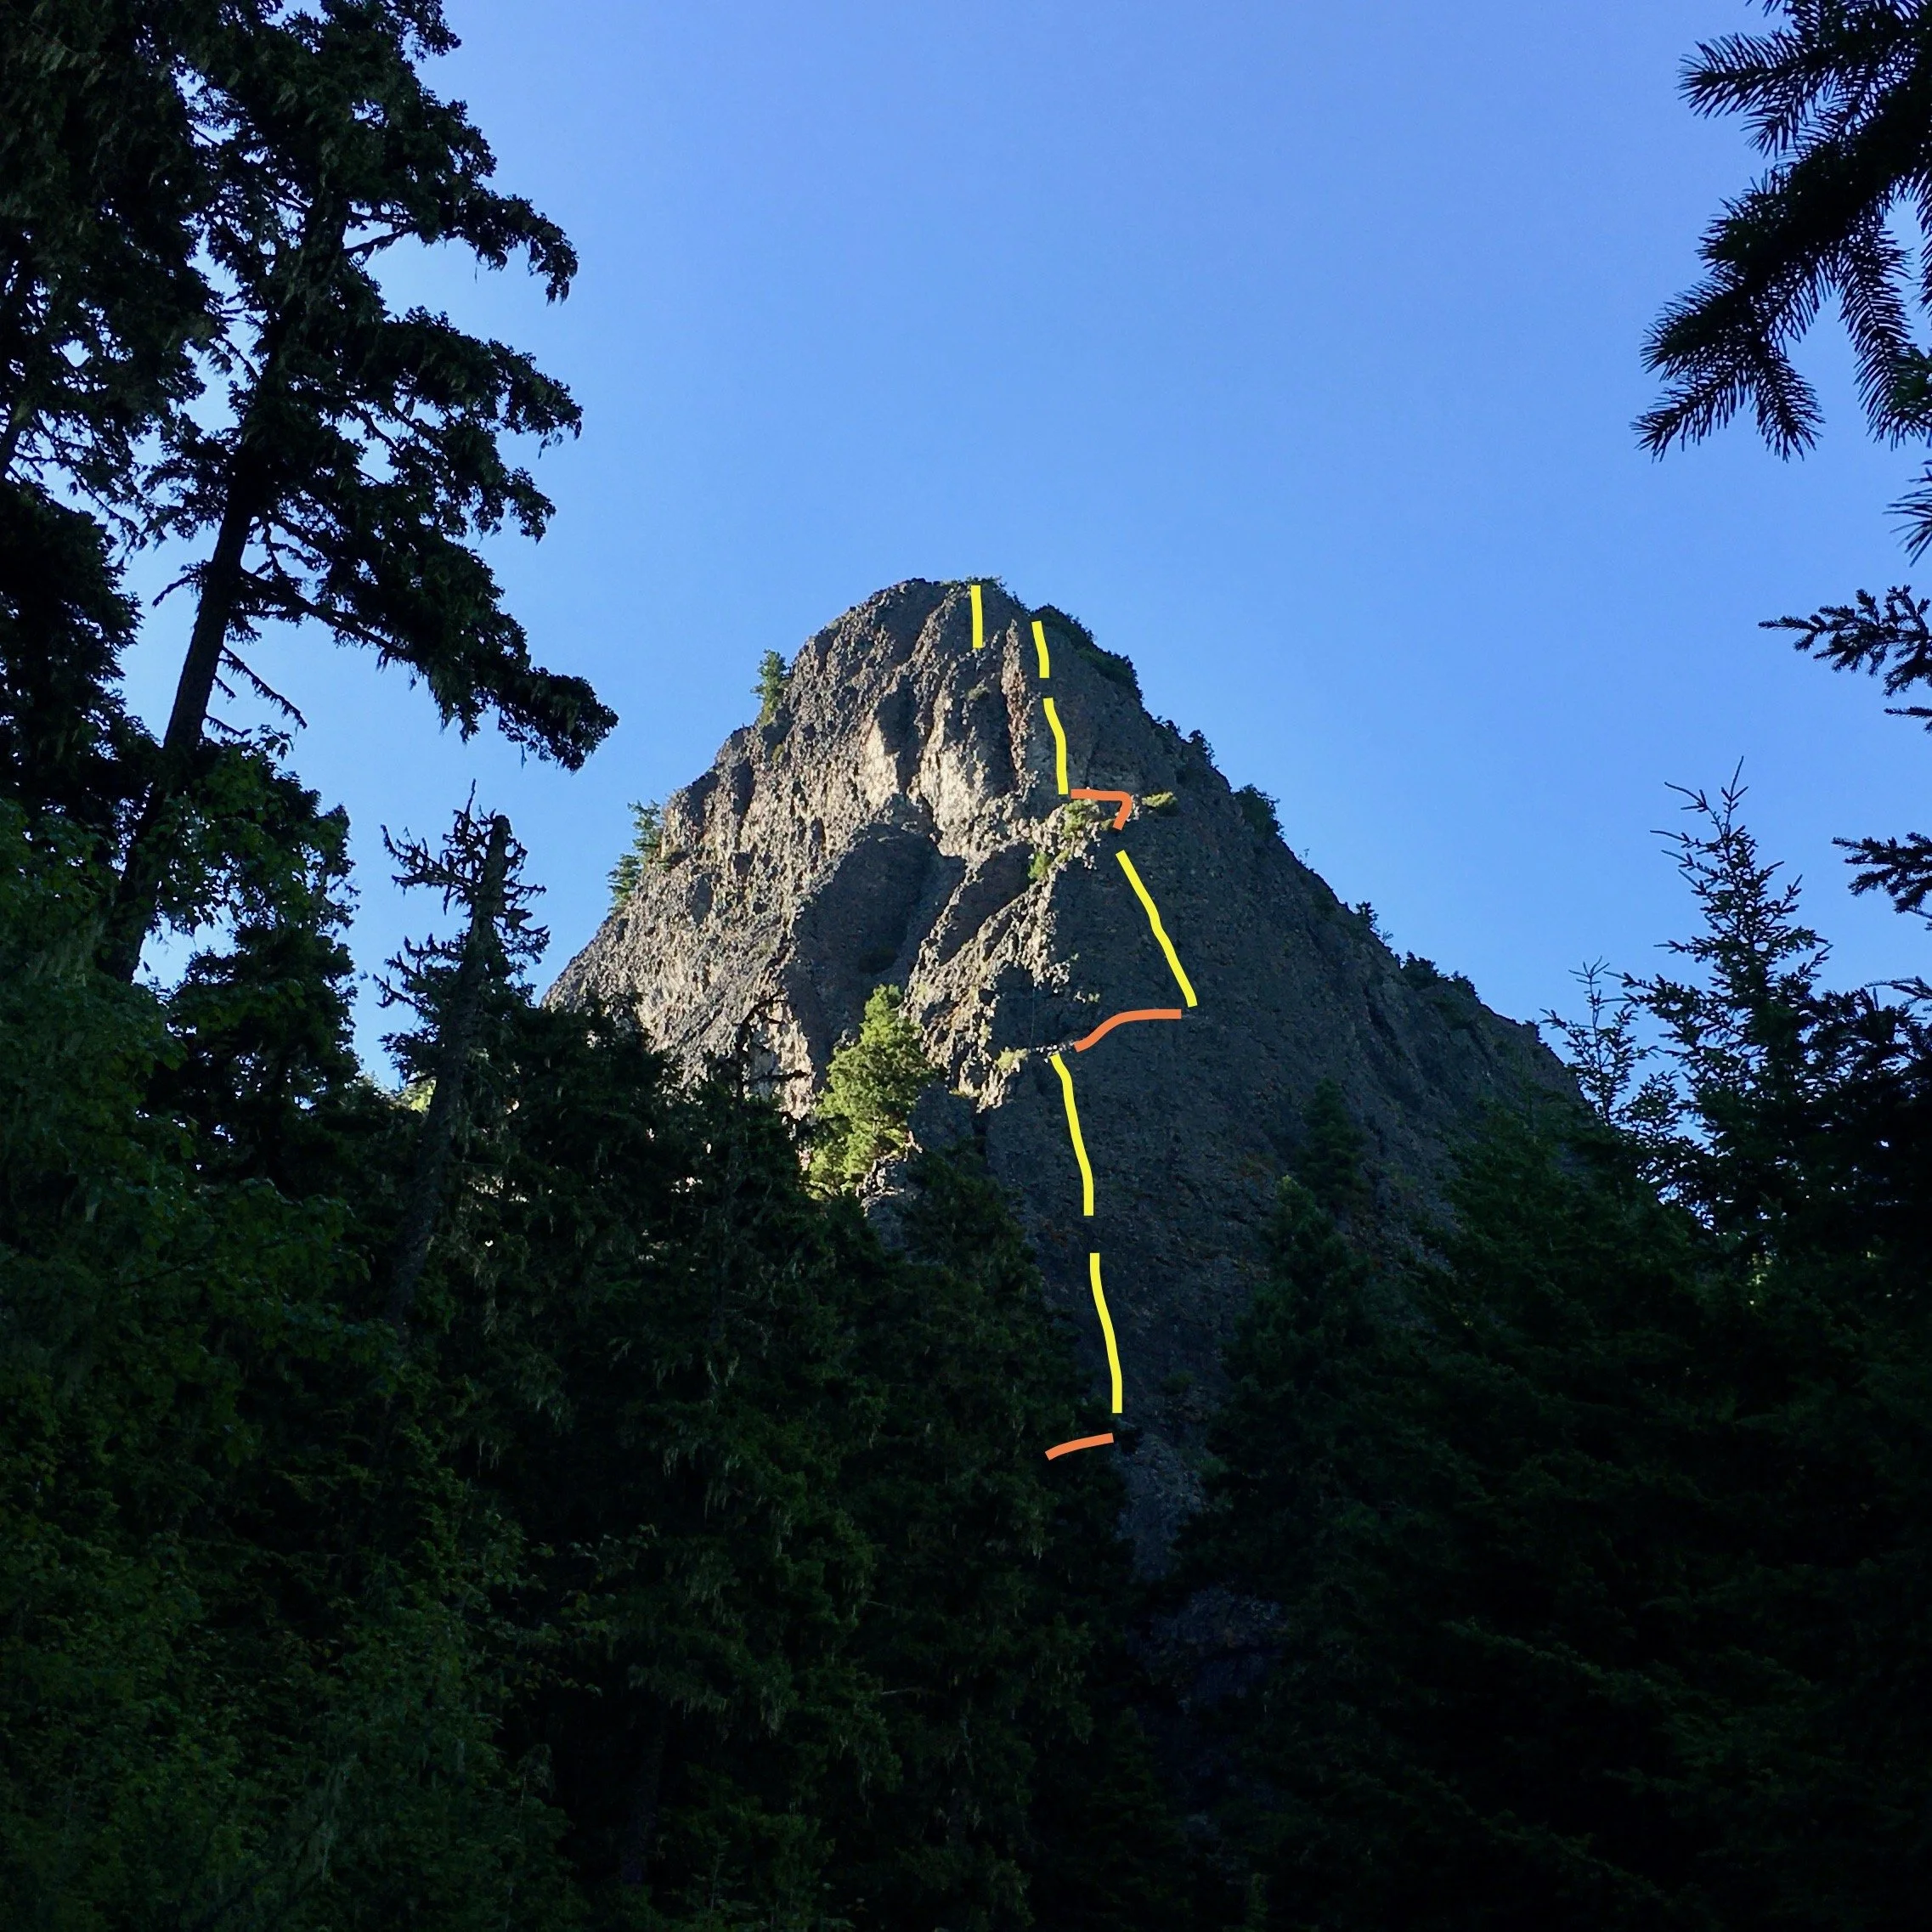
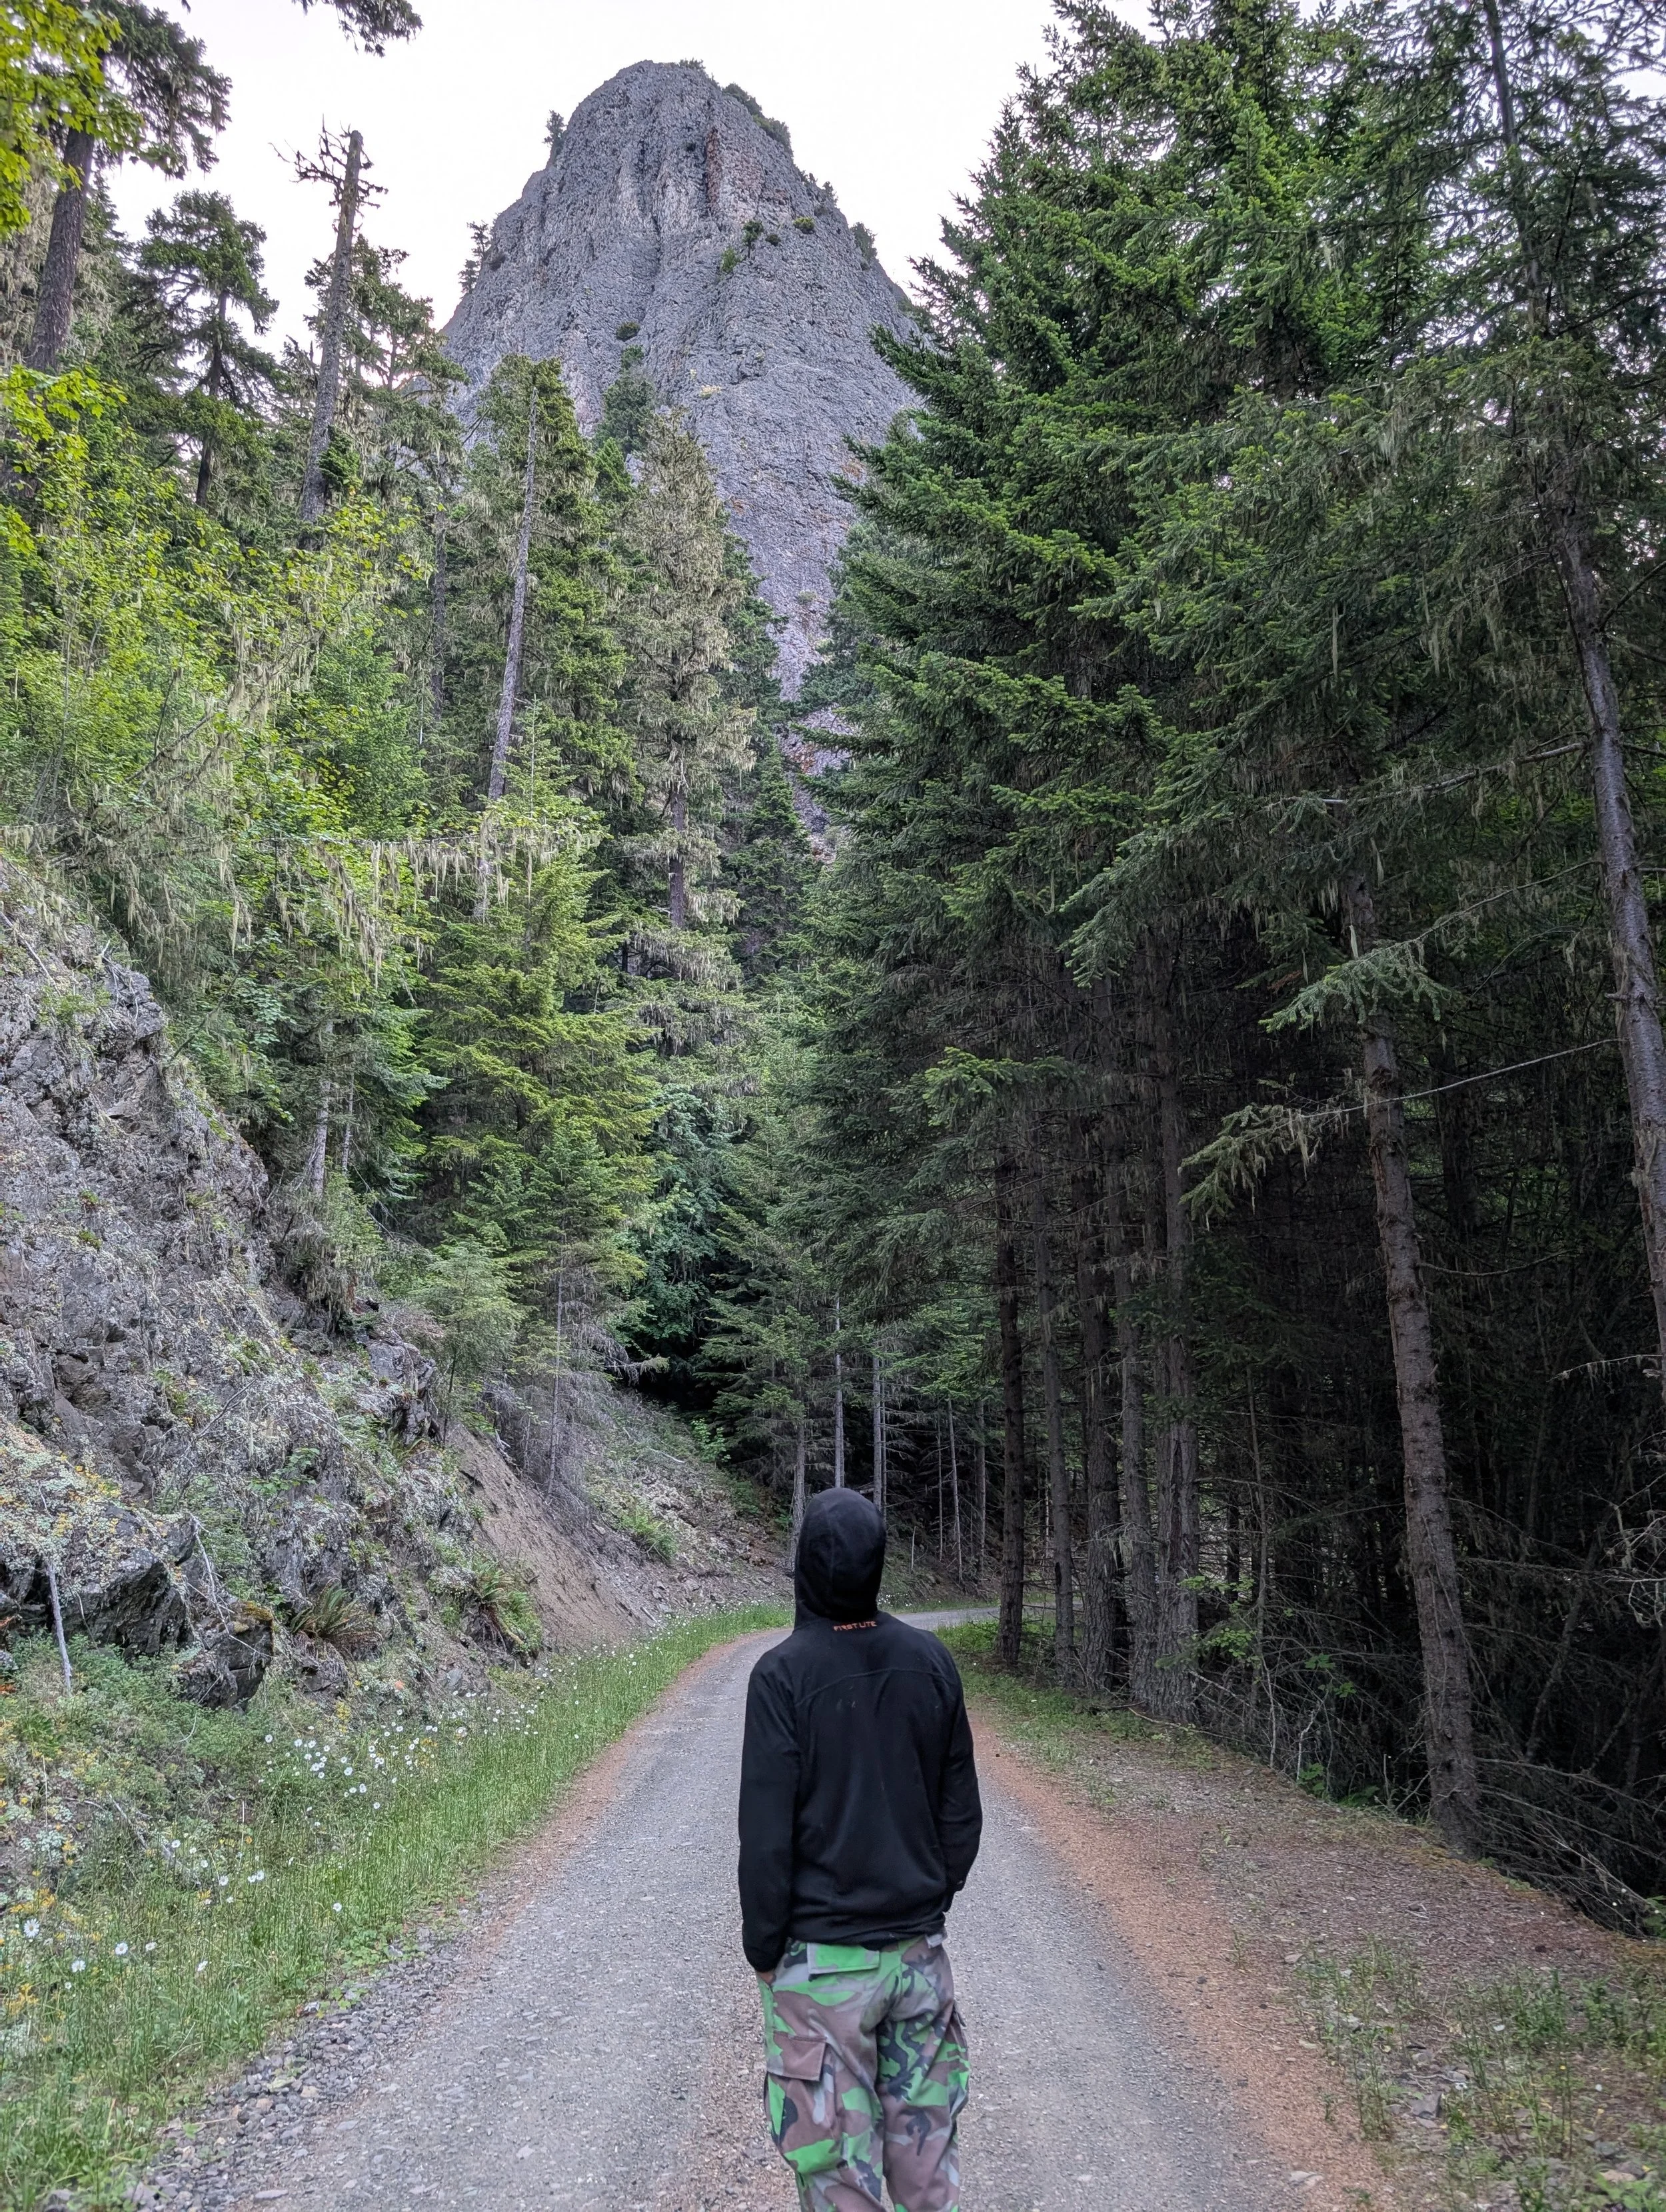
The view from the road, showing the bump to pitch 3 up to the top.