Slick Rock’s Regular Route - Multi-pitch Rock Climbing near McCall, Idaho
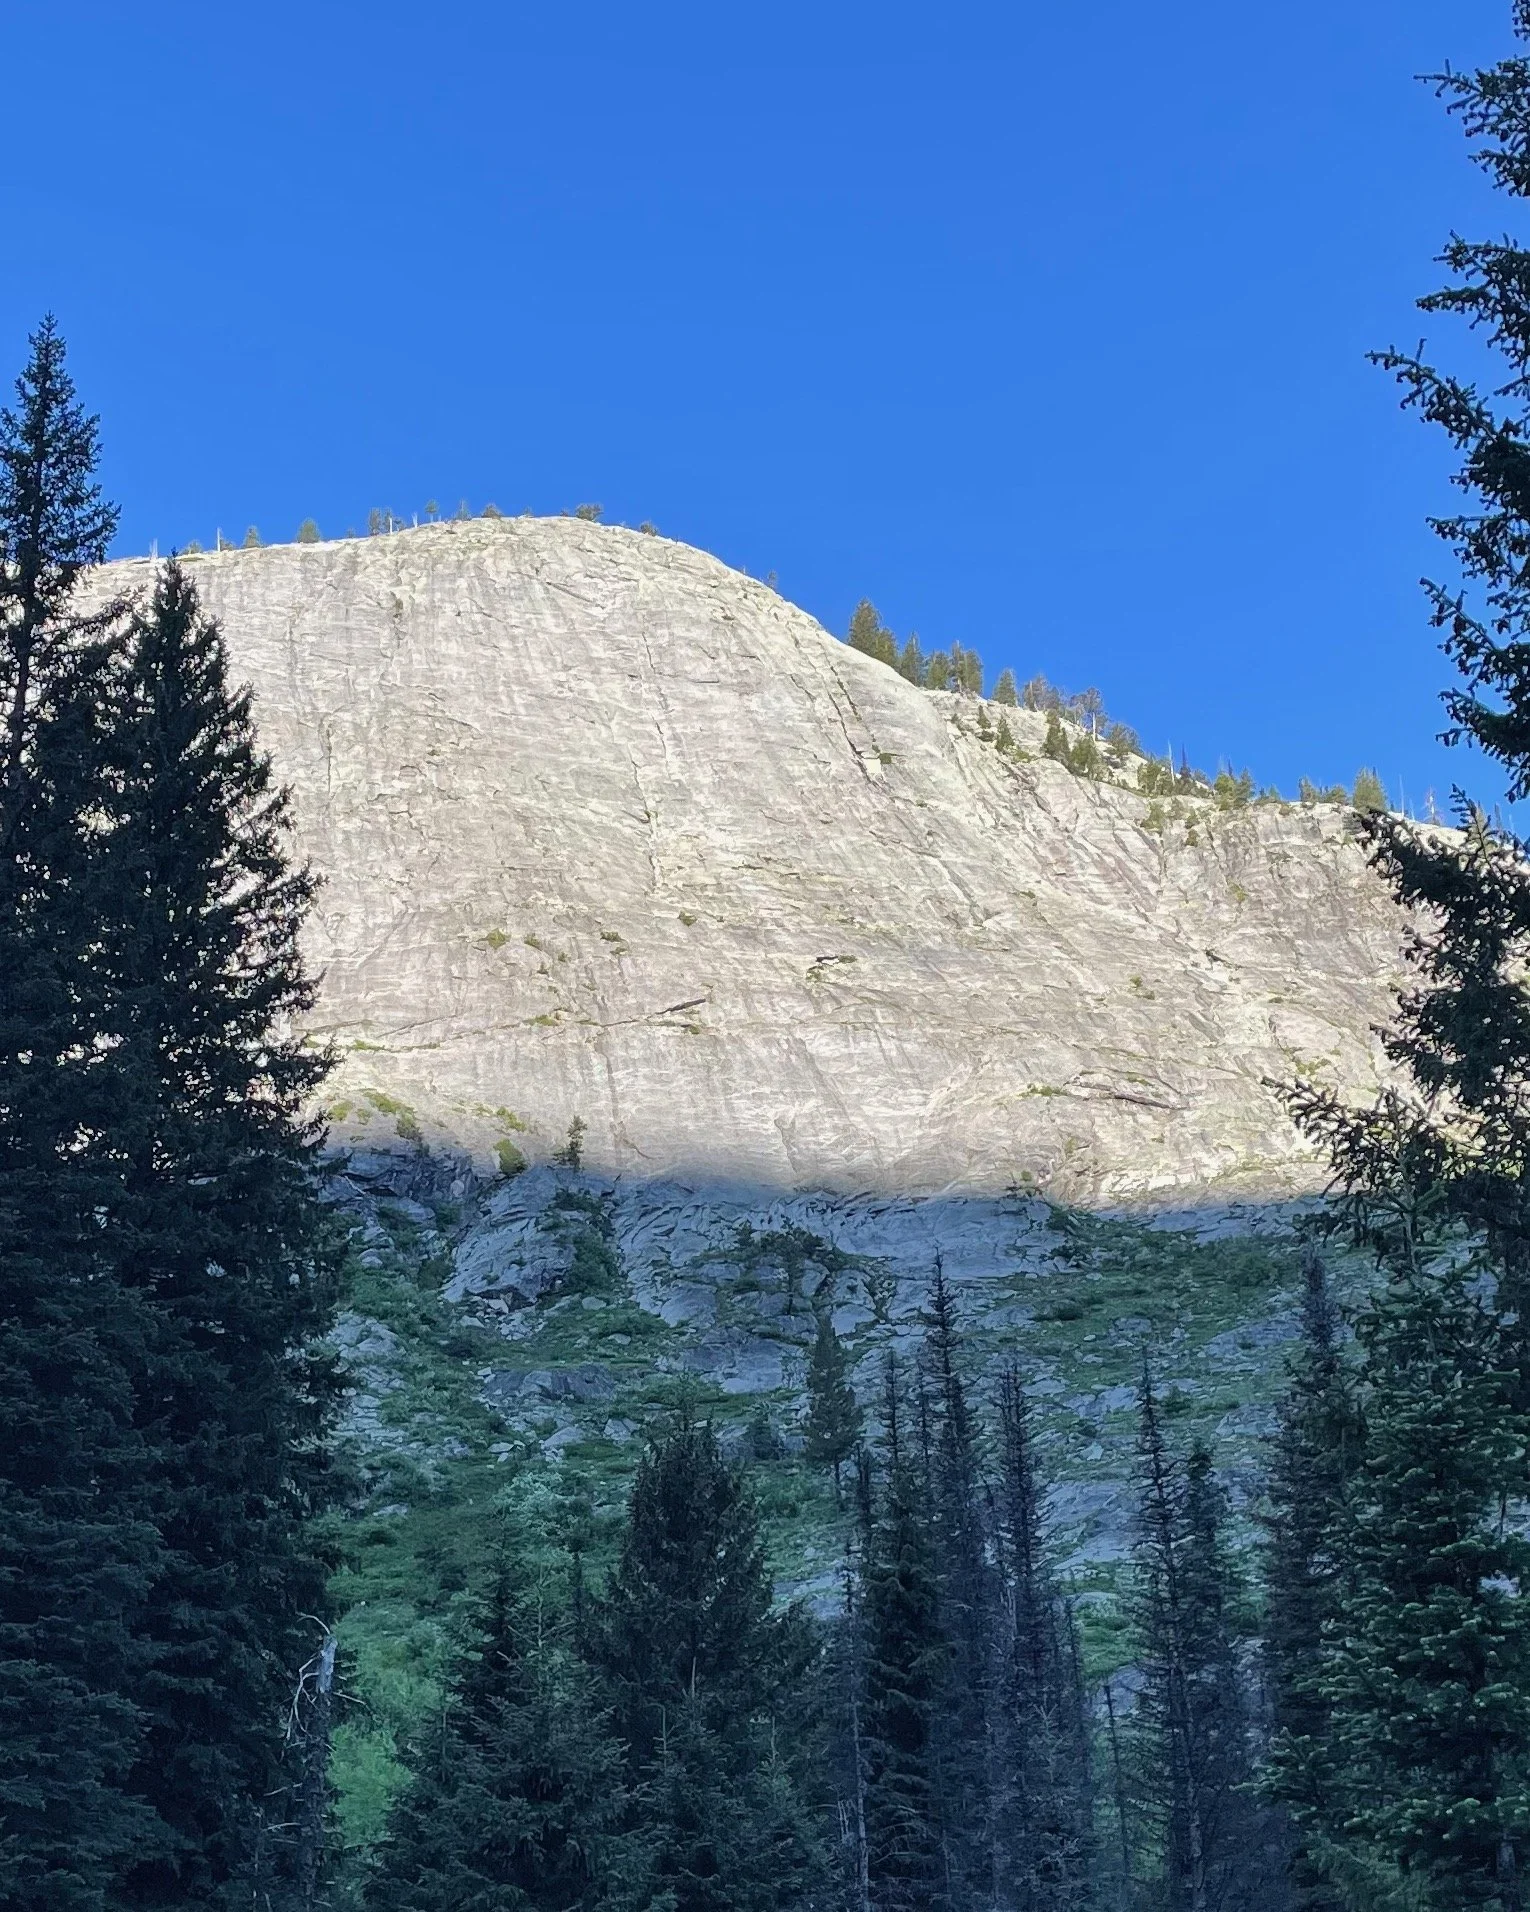
Slick Rock is a sweeping granite slab climbing 1200’ near McCall, Idaho. The Regular Route (aka the Three Cracks Route) is the original line - it is also the directissima route, center-punching right up the wall to the summit. Here’s me beta:
Slick Rock (6894’ / 2102m, Regular Route, III 5.6r
Slick Rock is a 1200’ shield of granite.
Gear. The amount of gear can depend greatly on your rope length (see below). We climbed with a 70m rope, carried two full set of cams from 0.3 to 3, a set of stoppers 4-12 (both cams and stoppers Black Diamond sizing), and 12 alpine draws/shoulder slings. This let me climb the crux pitch with a 3 pice anchor below, place 11 pieces of pro, and build a three piece anchor above, leaving one cam and half the stoppers to hand over at the transition. A 60m rope would probably work with a set and half of cams and 8-10 alpine draws.
Rope. The online sources all insisted that a 70m is necessary. I do think a 60m rope would suffice, but would also require all ten pitches shown in the topo. With a 70m cord we were able to link six pitches into three, reducing the pitch count to 7.
Drive and camping. Slick Rock shows up on Google Maps if you search for “Slick Rock, McCall, Idaho.” A first-come, first-served camping area just a mile downstream with 9 sites is available for $10/night, but we found plenty of primitive sights available along the road and stayed at one for the night before and after the climb.
Approach. The first time you arrive, you’ll likely drive past the first pullout (good for three cars parked in deep) because the trees block the view. The second pullout only fits one car but is in the middle of clearing, giving you an uninterrupted view of the wall. No worries, just plan on turning around and parking back at the larger first pullout. Seriously, you could fit three van-life Sprinters in a that spot.
Also, the original logjam crossing at the second/higher pullout has washed out. Someone recently dropped a tree at the first/lower pullout. Just follow the trail down to the creek and you can’t miss it. It was wicked fresh - you could still smell freshly cut pine - and we spent a bit of time at the end of the day clearing some the limbs from the top.
Once you cross the creek, get around the first knob and then drop back down toward the creek and stay just under the slabs but still on the bench above the creek, working your way upstream until you run into the original climbers trail that climbs from that aforementioned washed out logjam crossing. From here the approach should take only 15 minutes or so to the base of the climb.
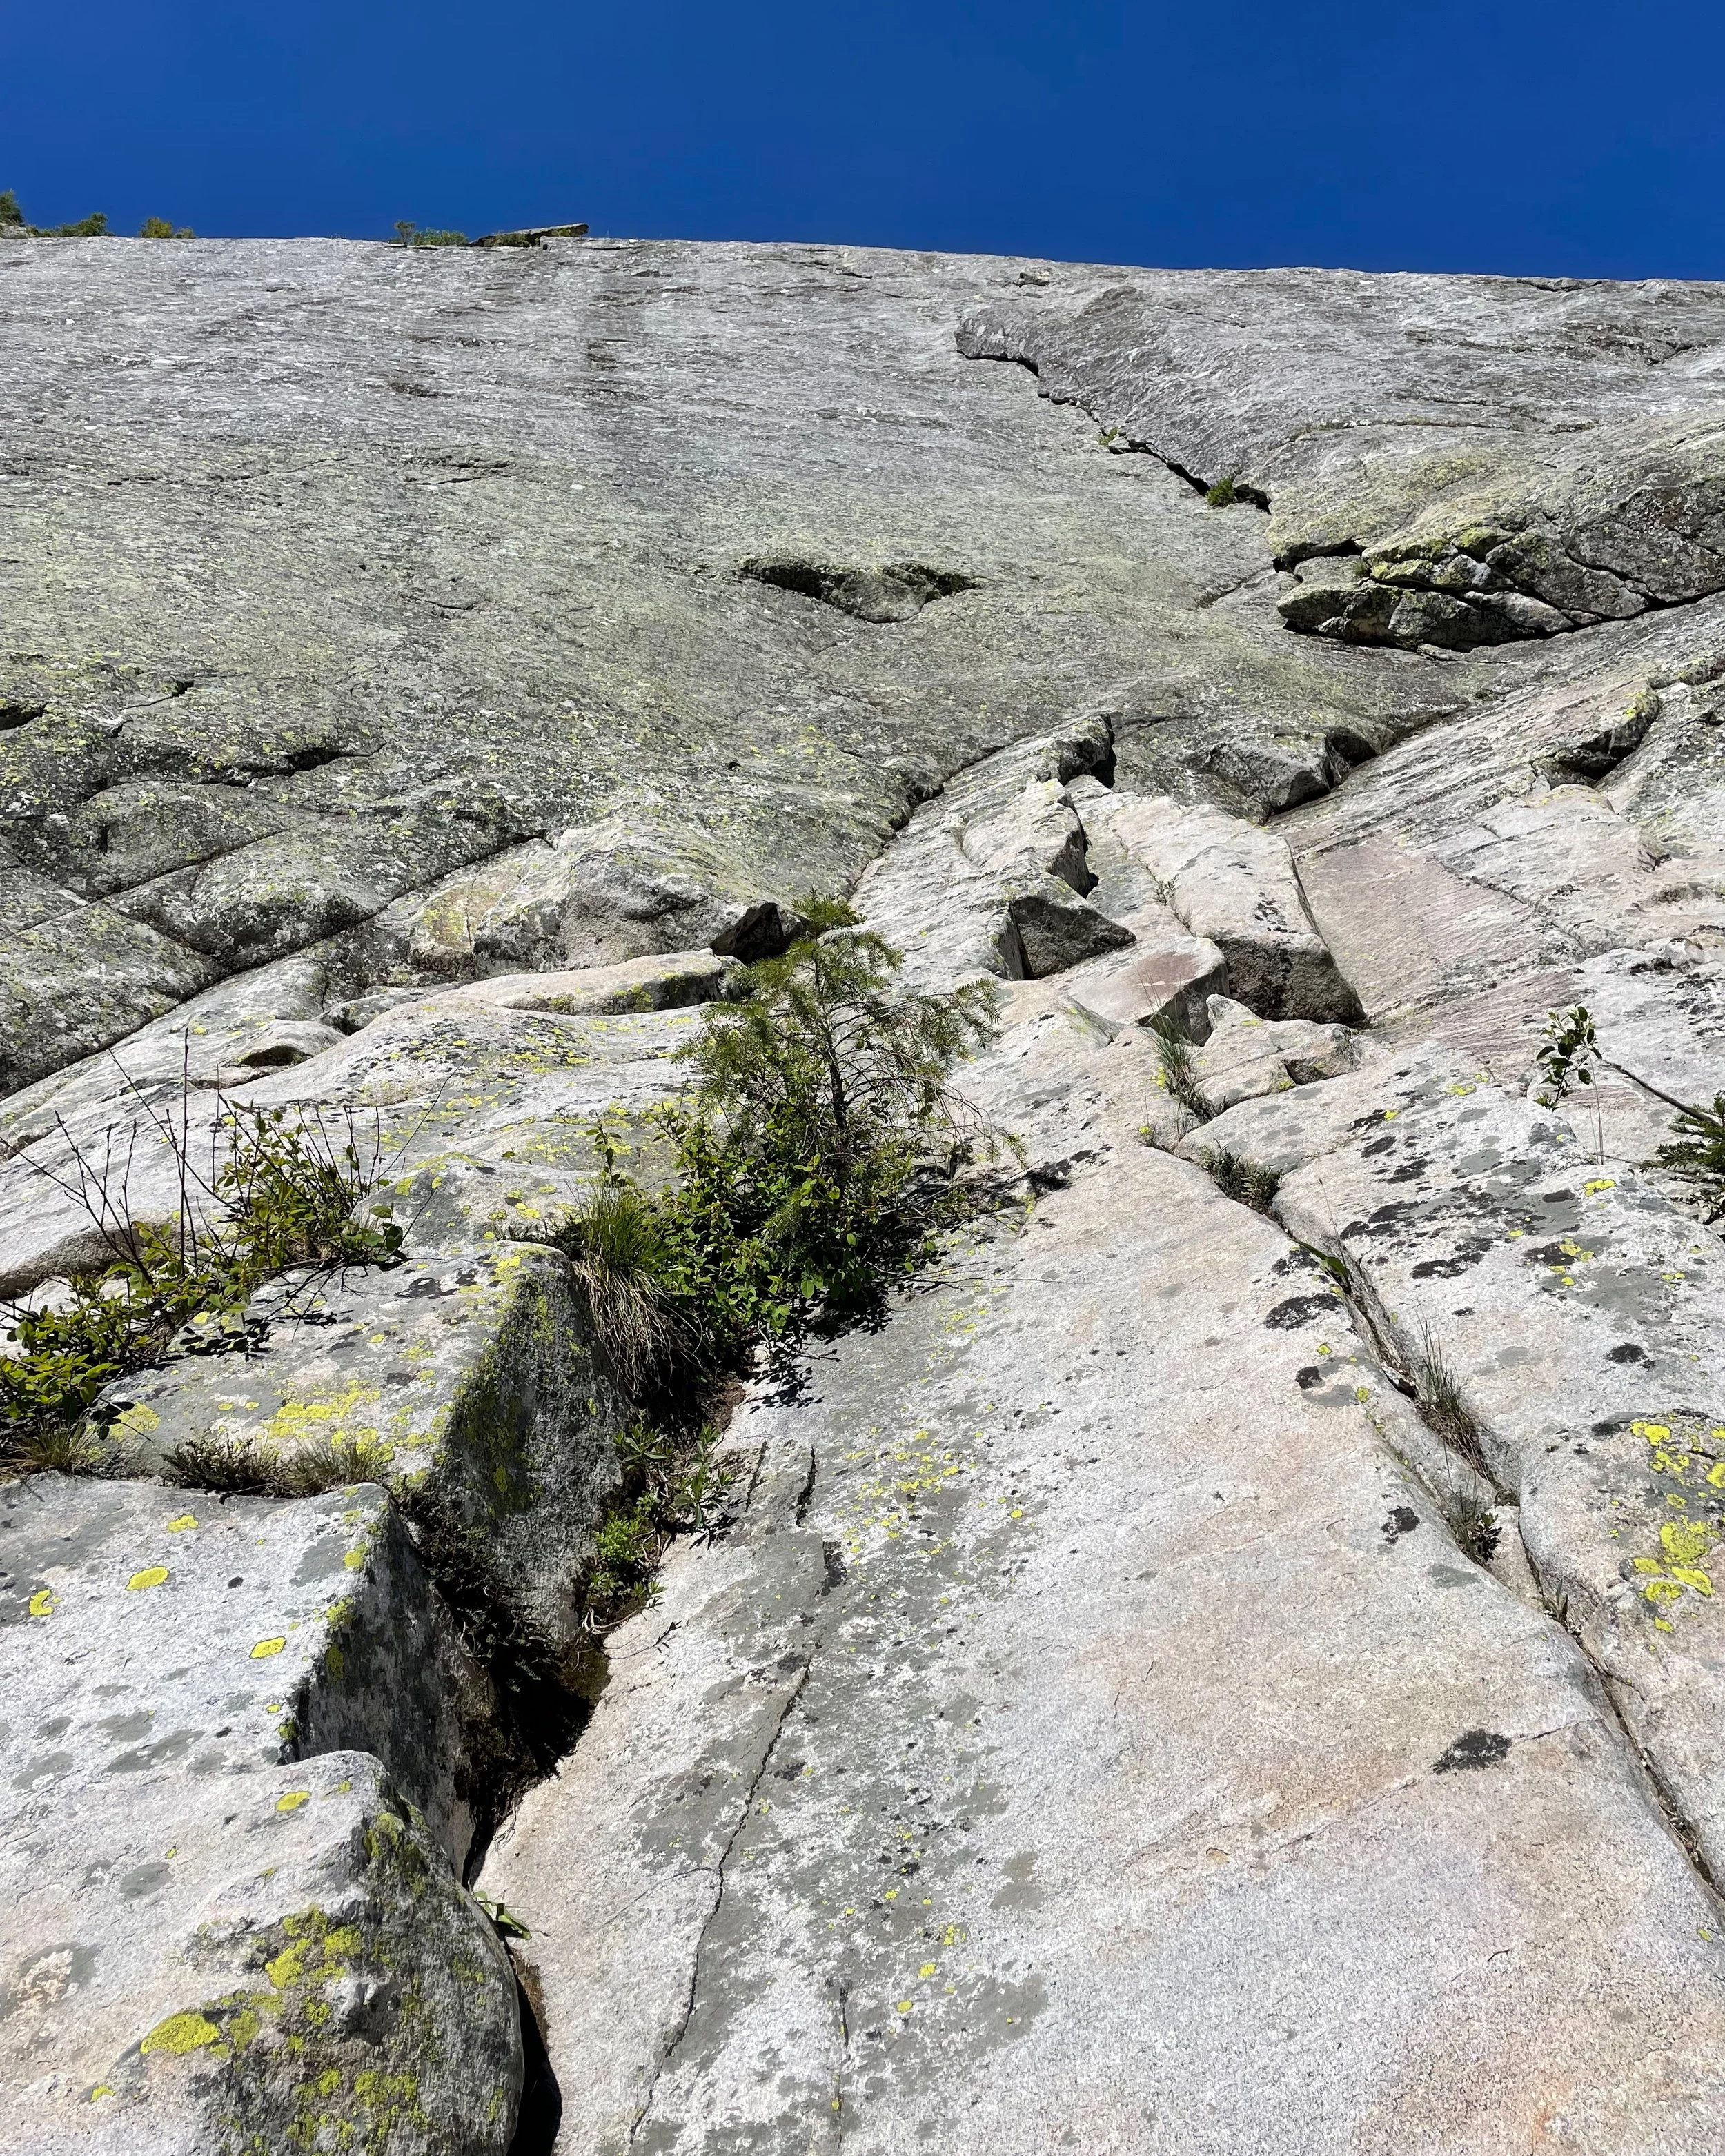
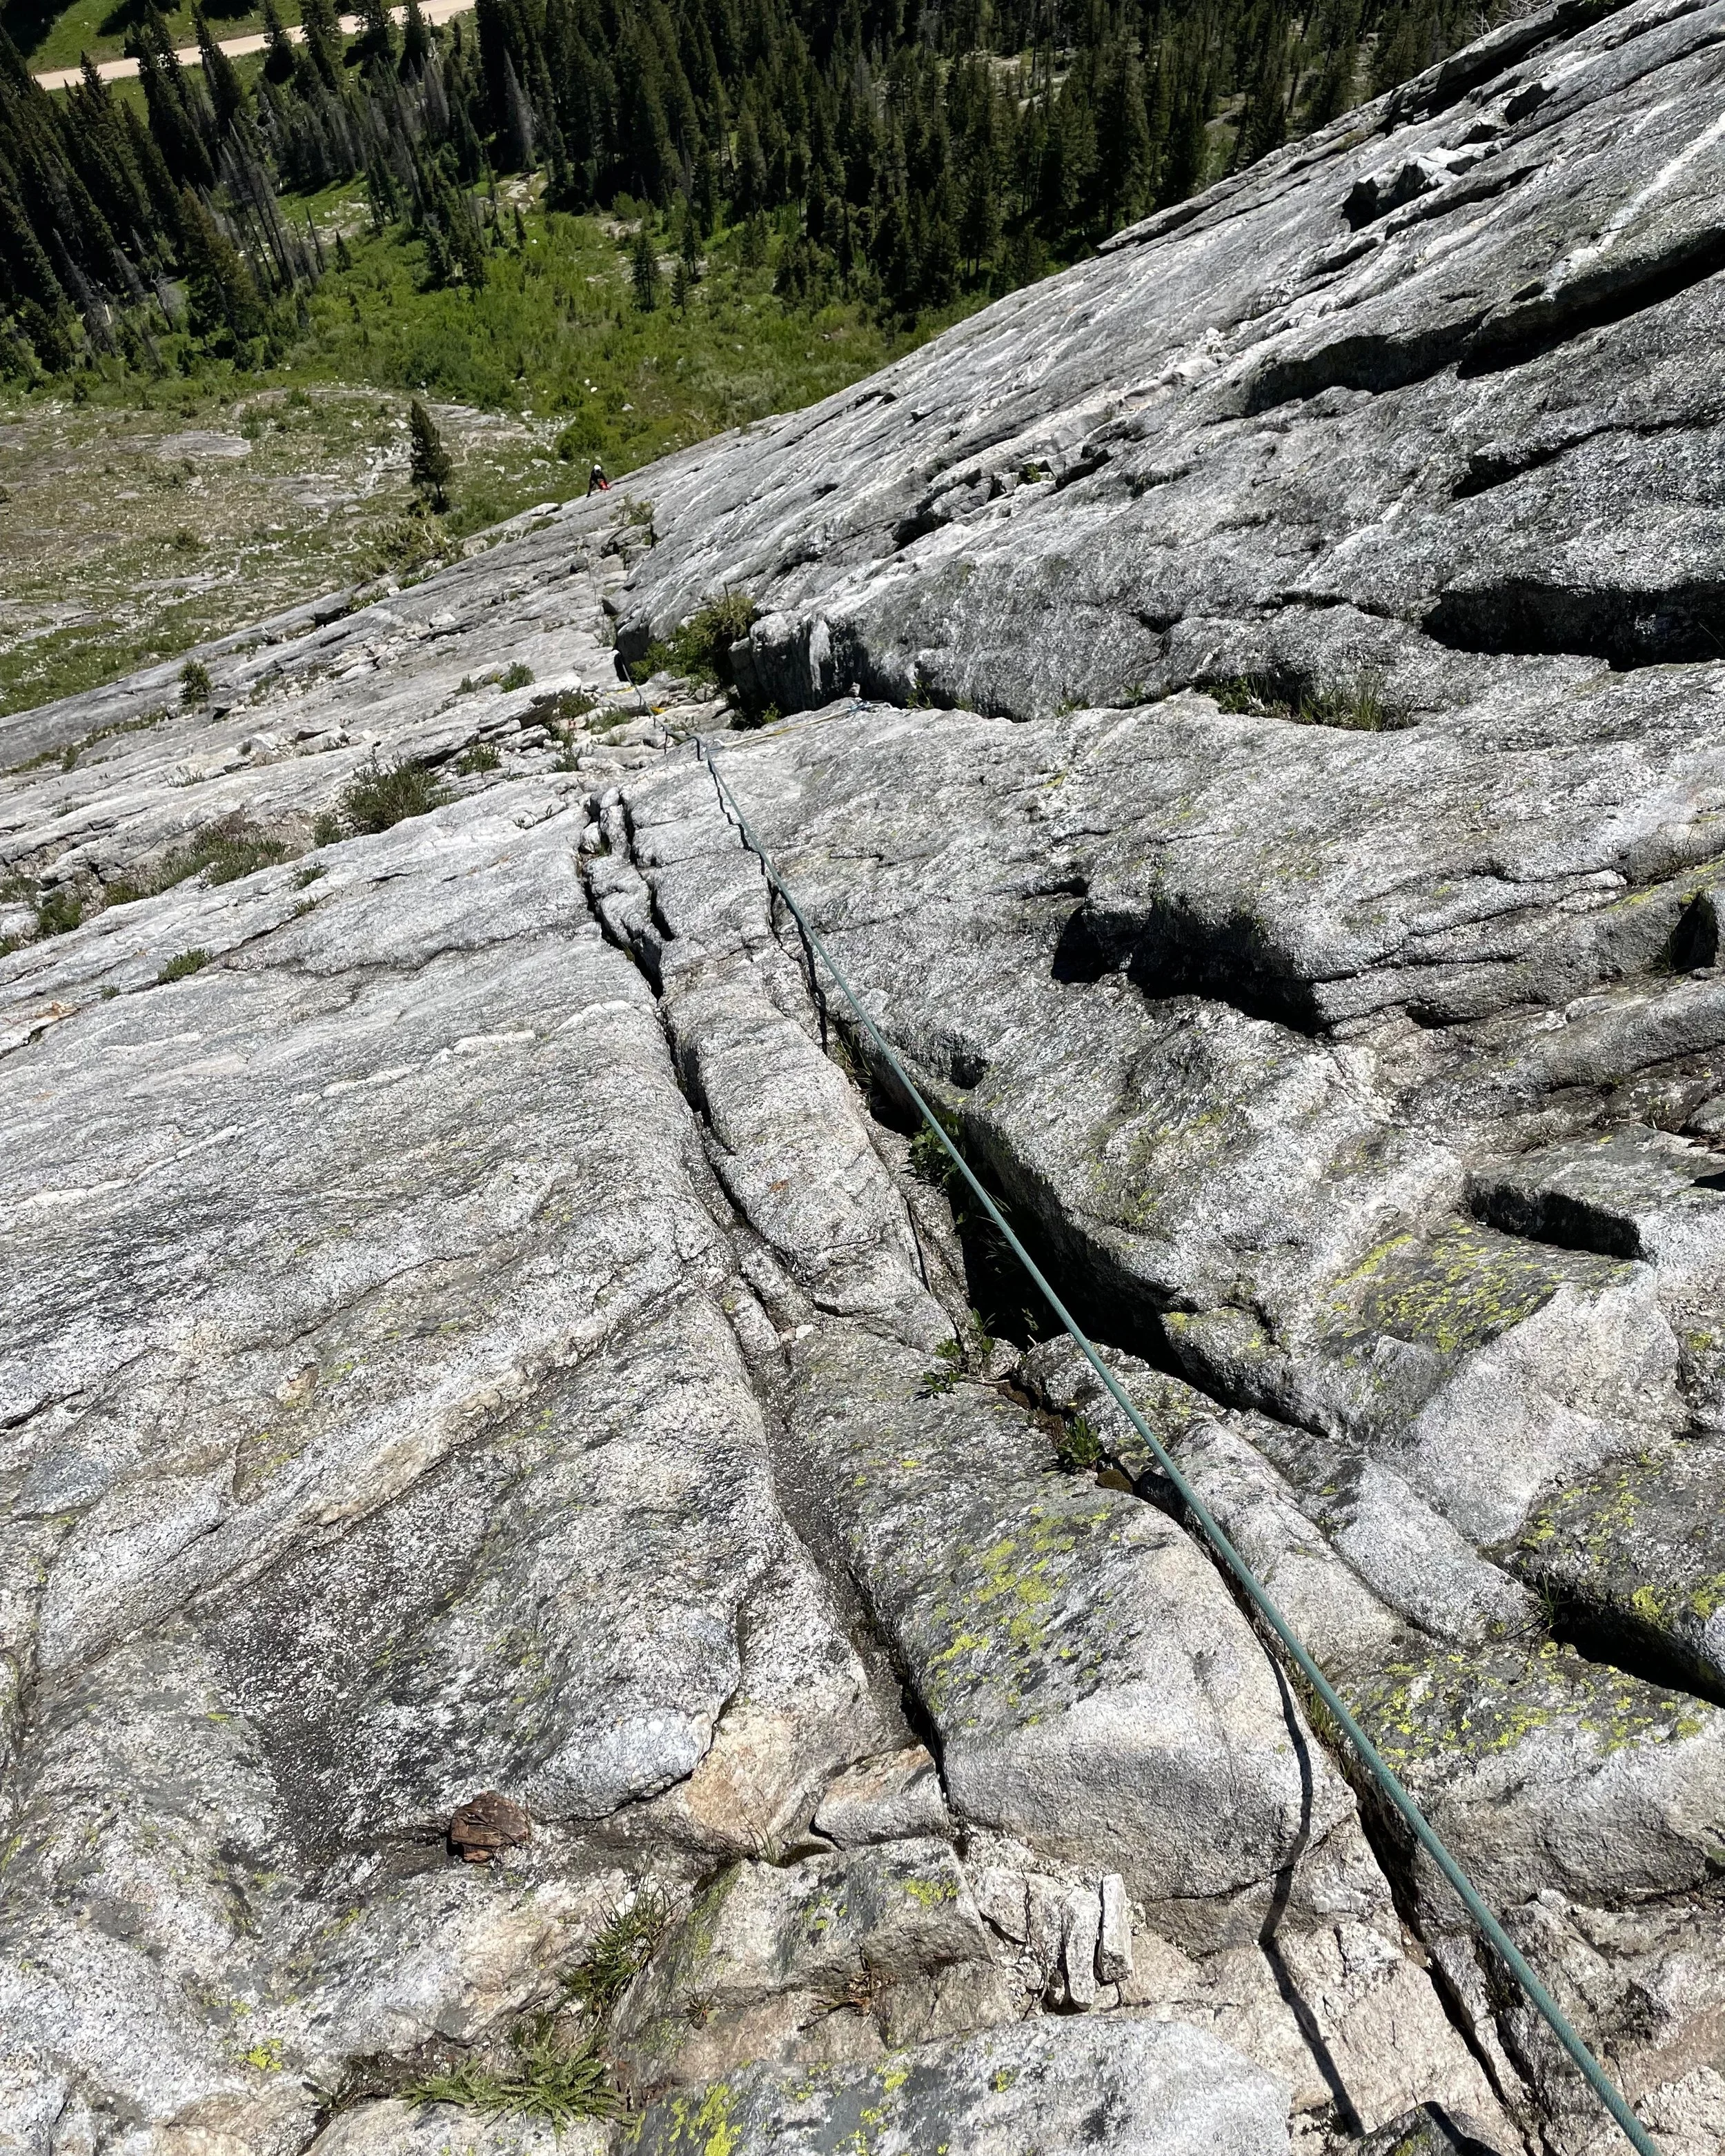
Route. We found lots of good photos of the route online above the first pitch, so we made sure to take multiple photos of the start of the route, then promptly forgot to take any photos of the upper pitches (they were too much fun).
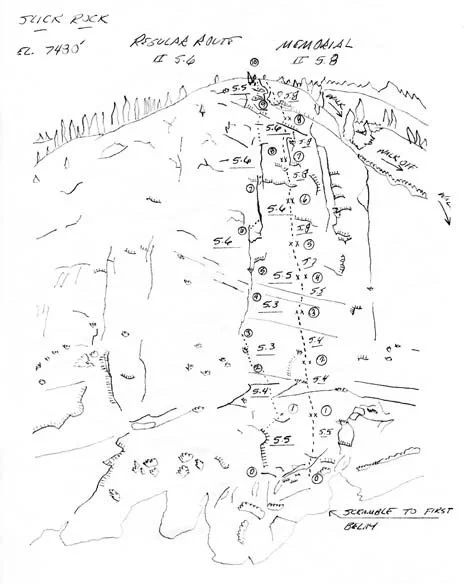
I don’t remember where I found this topo on the internet, but the original version with just the Regular Route is on Mountain Project. My copy shows all four routes. I’ll be referring to it throughout my description of the climb.
The topo shows the Regular Route as being 10 pitches. With a 70m rope we were able to link up pitches 3-4, 5-6, and 9-10: a strategy I’d probably repeat in the future. Pitches 1 and 2 end with 2-bolt anchors. There is also a 2-bolt anchor at the end of pitch 7 - the Second Crack - but it was at the very end and left of the crack, long past an easy step across to the right and good gear anchor at the very base of the Third Crack (pitch 8). On Mountain Project several other bolted anchors are identified, but they belong to the Memorial Route, which comes within easy chatting distance to the right of Pitch 7 and 8.
The crux (two actually) seems to be Pitch 7, featuring a wide crack/groove that you have to simply walk up, with gear well below your feet in two places. My feet were hurting, and I chose to slab around the first crux instead. Looking at Mountain Post comments, this pitch makes some people claim its sandbagged and other think its over-graded. I thought it was just right, I just didn’t like how I was being distracted by my complaining toes when my “all-day shoes” weren’t living up to their hype.
Key advice for pitch 8, if climbing with a 70m rope: continue past the crack into the overlaps above, stopping at the first or second overlap to build an anchor. This get’s you high enough to link pitches 9-10. If you stop at the end of the crack, your 70m line will also stop about 10 meters or so below the summit.
Descent. From the summit register, head north and spot the cairns that lead to the trail in the notch behind the wall. Continue north down this gully, which cliffs out partway down into a 24-foot fourth class chimney. A tree at the top is slung for an optional rappel. We chose to down climb, but I think if I was here with a newer climber or a client i’d just rig the rappel for safety sake. Continue down the trail, which will eventually come back around to below the wall and rejoin the up-track. In fact, it wouldn’t be hard to circle back around to packs if you wanted to leave them at the base.
Note: Without rushing we climbed the route in 5:45. Our approach took approximately 30 minutes, and the descent an hour.
Conclusion. This is an amazing wall. Two smaller walls are it’s neighbors up-valley, and the closest is rumored to have a 5.7 established on it. I told my friends I’d be happy to return, even to repeat the Regular Route, but now I’m hoping to climb the Memorial Route when I have an excuse to drive through Idaho again.
References: Mountain Project, https://www.mountainproject.com/area/106012858/slick-rock


