I climbed the SE Ridge of Mt Washington for the Fourth of July weekend. A 2.5 hour drive from Seattle, equivalent to anything in the Cascades. Here’s the beta:
Mt Washington (6255’ / 1907m) SE Ridge, III 5.7
The Southeast Ridge of Mt Washington rises sharply from the lower flanks of the mountain, a prominent buttress when viewed from the Forest Service road below and from other locations south and east.

Route 3: SE Ridge. Route 1: Descent. Image: Olympic Mountains: A Climbing Guide.
Gear. A light alpine rack is sufficient. Expect to place 1-5 pieces of protection on any pitch, and building most anchors with gear. Note: We did not find very many opportunities for slinging horns/blocks (perhaps three instances) as described in the guide book. A rack of cams #0.3-#3 and stoppers 4-10 (Black Diamond sizing); 4 alpine draws/shoulder slings; 2 quickdraws; 2 double shoulder slings. A spare cordellette and rappel ring is also advised, in case either rappel anchor needs to be replaced.
Rope. This route is also ideal for a shorter lead line and separate rappel/tag line. We climbed the entire route with 40m of a 70m rope, and 35m was more rope than necessary for the rappels: a 60m rope would have easily been adequate. If I were to repeat, I would use a 40m lead line and pack a 30m rappel line - the rappel line is only necessary twice (perhaps even once). Our 70m 9mm rope weighed approximately 10 lbs. My current 40m lead + 30 rap line combination weighs 6lbs, and requires less faffing with.
Drive. From Lake Cushman or the Hamma Hamma (say that out loud and try not to smile ;) ) village, turn onto NFD 24 and then onto NF 2419. Pass the Lower Mt Ellinor Trailhead and the turn-off for NF 014/Upper Mt Ellinor Trailhead. Soon after the NF 014 junction (almost in sight) and before reaching Big Creek, the road has been closed - this is the start of the approach.

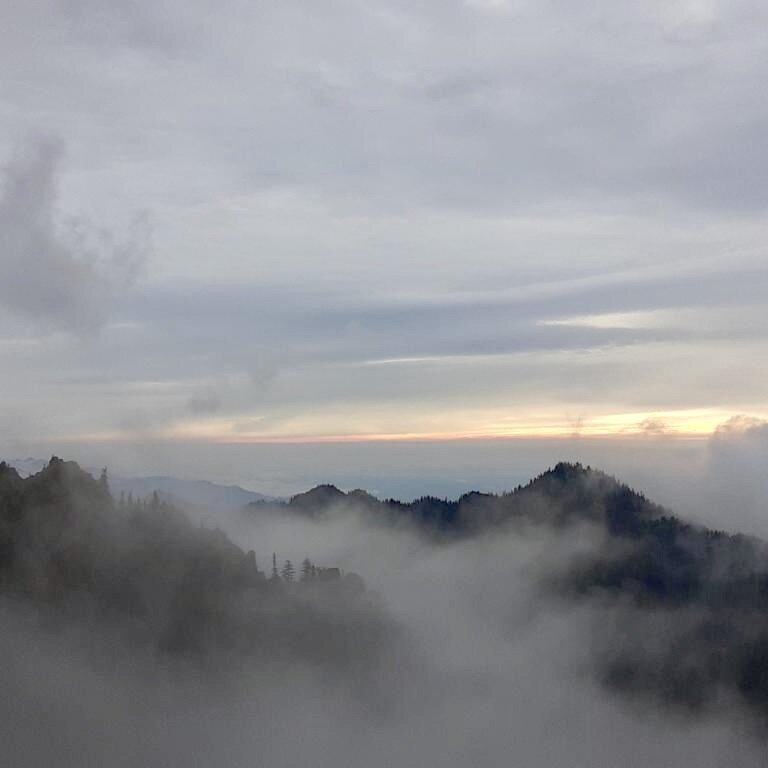
Mt Washington SE Ridge, viewed from the South at the end of the road and the trail head. The Shield Wall is the prominent hight point in the photo - the subsequent towers, final headwall, and summit are foreshortened but visible. The descent trail exits the woods just off-camera to the left.
Approach. Time 1:00, starting elevation at 3000’. Hike on the old road for no more than 5-10 minutes, crossing Big Creek. Just as you turn the corner and leave Big Creek behind you, look for a distinct trail just to the right of a small stream that disappears under the roadbed. Follow this trail up, reaching the rock rib after 800’ of gain (ca 3800’). The trail leaves the ridge after 1200’ gain (ca 4200’) traversing several gullies. Just before the trail reaches the last gully, it does a few short switchbacks to stay high and hub a cliff - if it seems you need to hike straight up a loose, scree-filled gully you’ve gone too far.
After gaining 1600’ elevation (ca 4600’) you’ll enter the small bowl below the Shield Wall. If one was willing to carry bivy gear up and over, this would be a wonderful place to spend the night. At the base of the Shield Wall, a distinct gully ascends up and left to a notch at the wall’s left corner, ca 4850’.
Note: 3 July 2020, the gully was still snow choked, making for slow scrambling up the moats on either side. We reached the notch in 1:45, after this and a bathroom break. In drier conditions and without a toilet stop, I think it’s reasonable to believe the approach is 1:00-1:15.

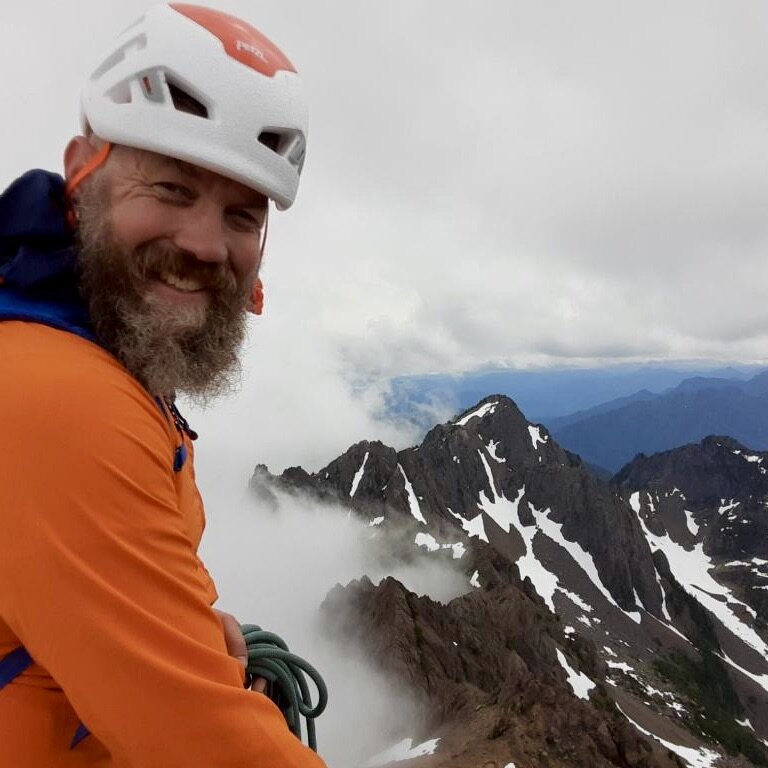
Getting past the snow-choked gully at the end of the approach added some time. Photo: K. Solomon.
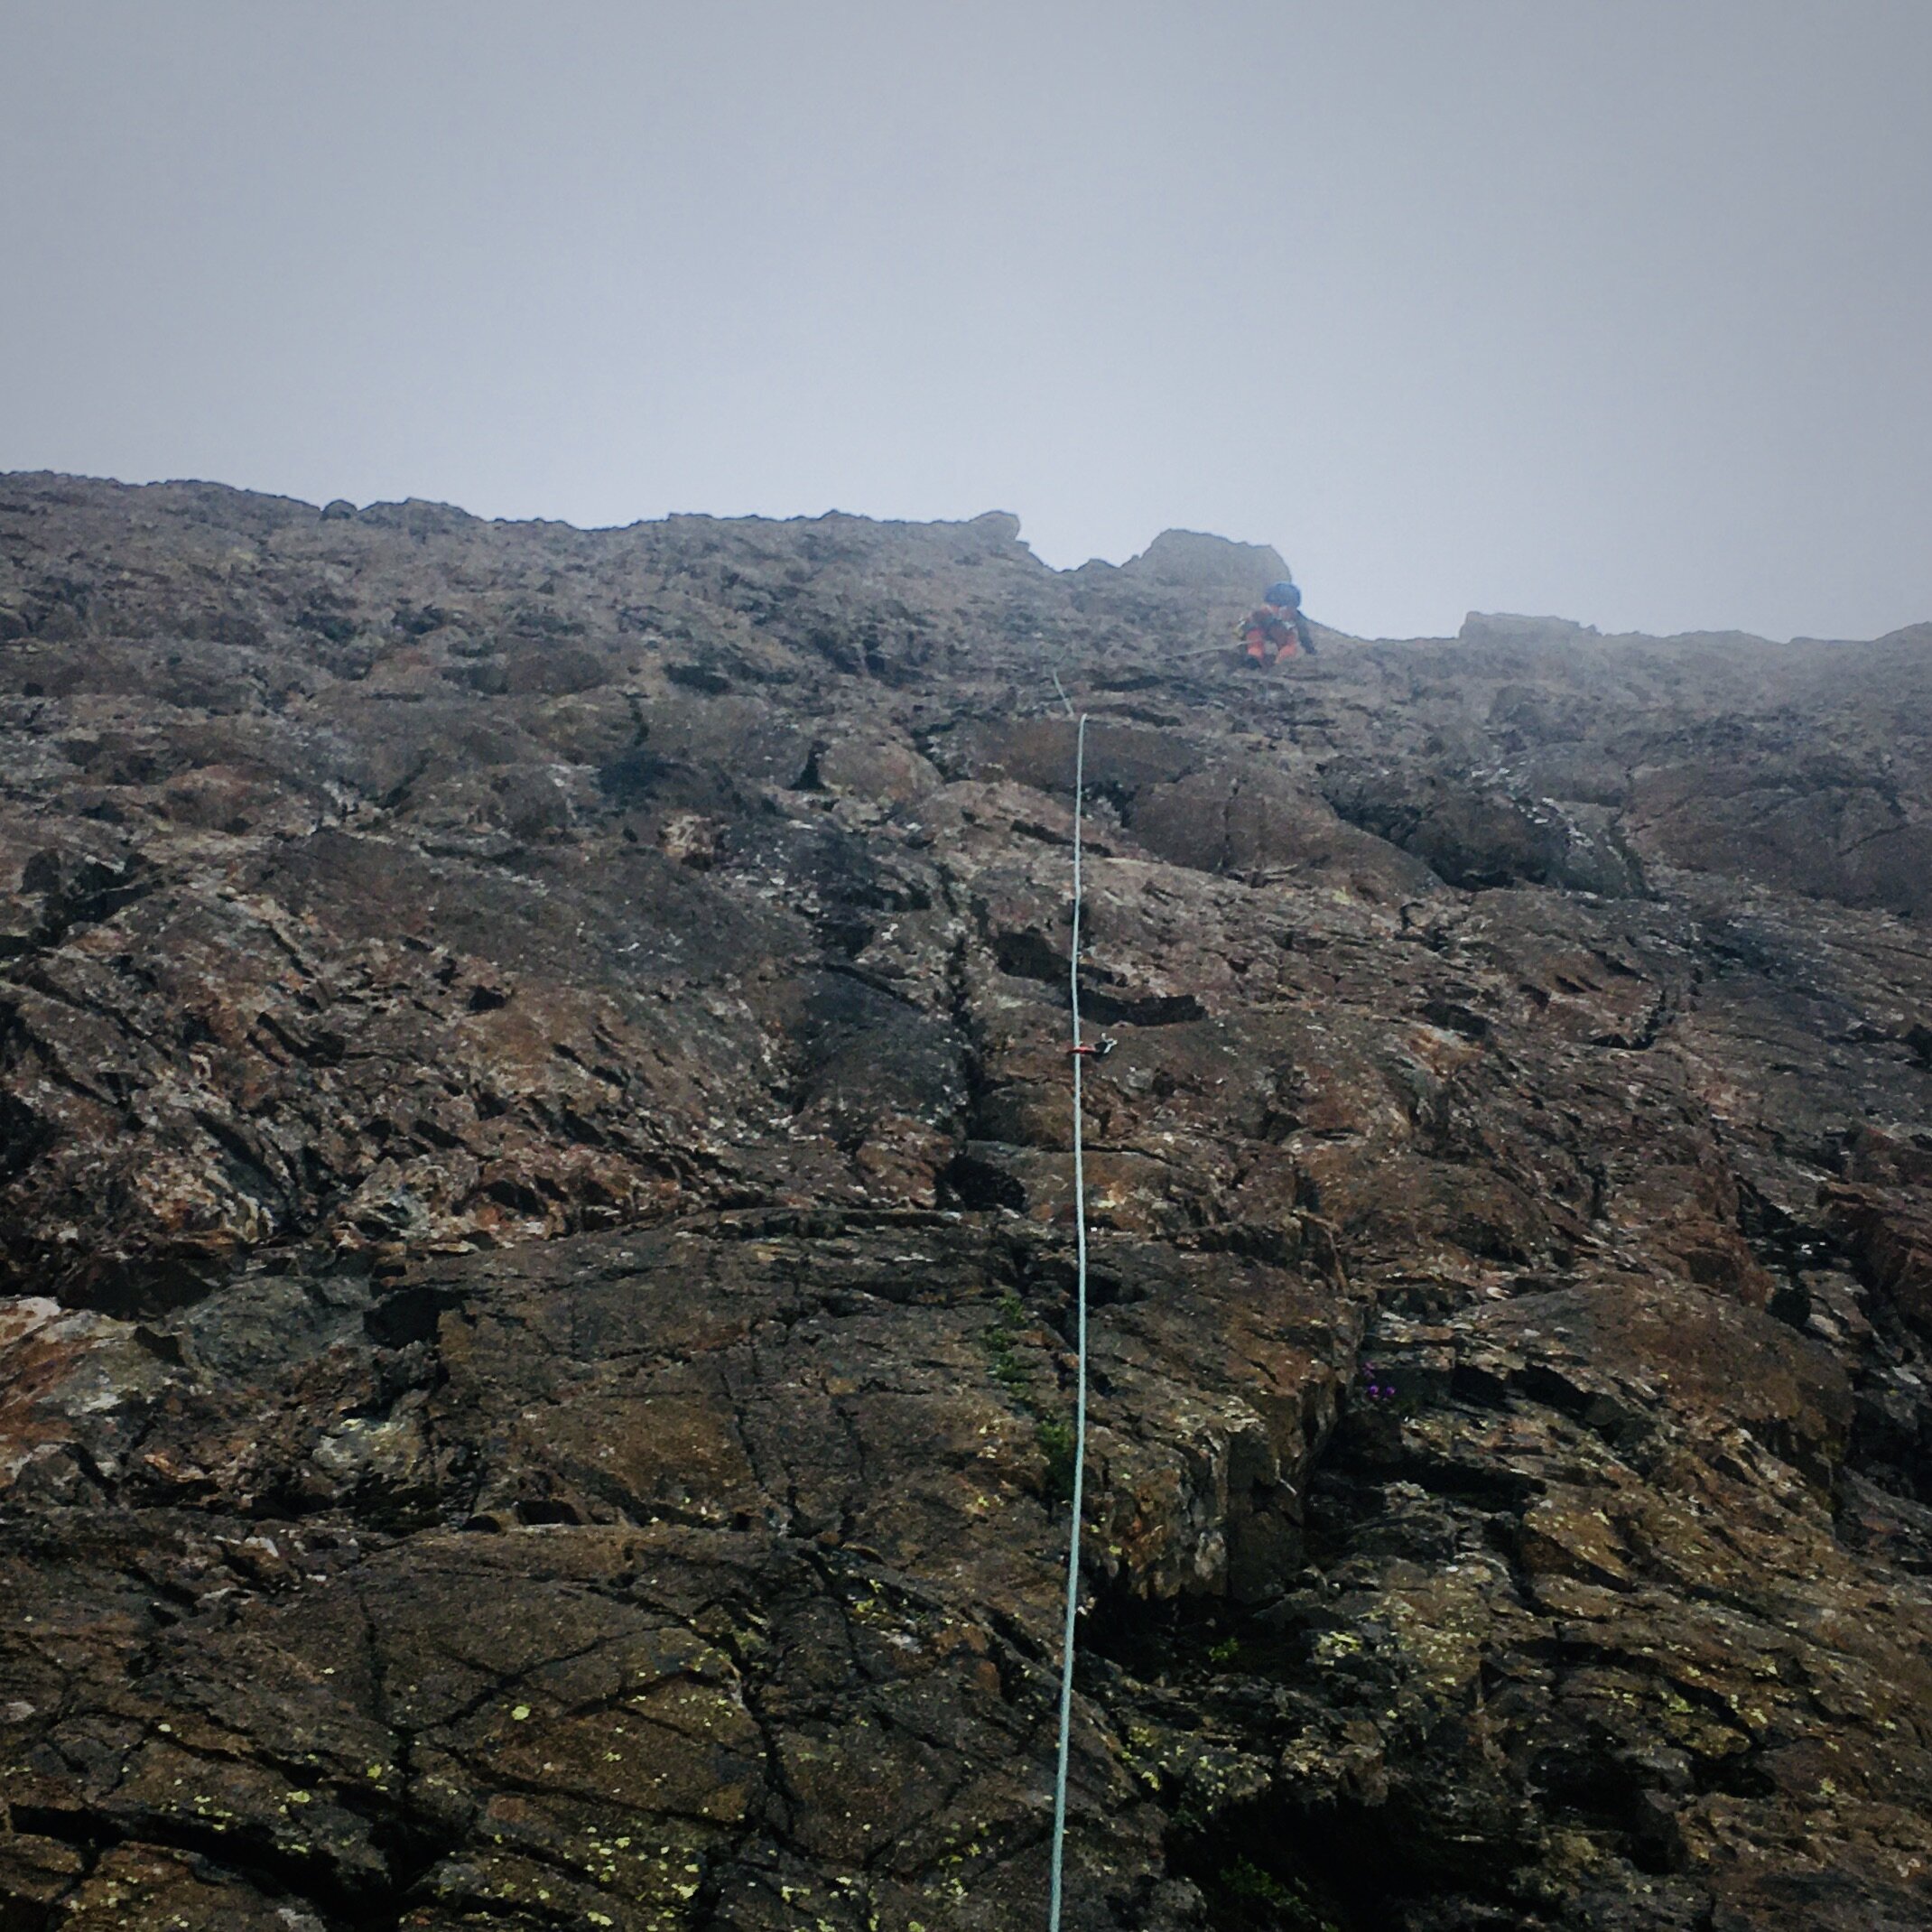
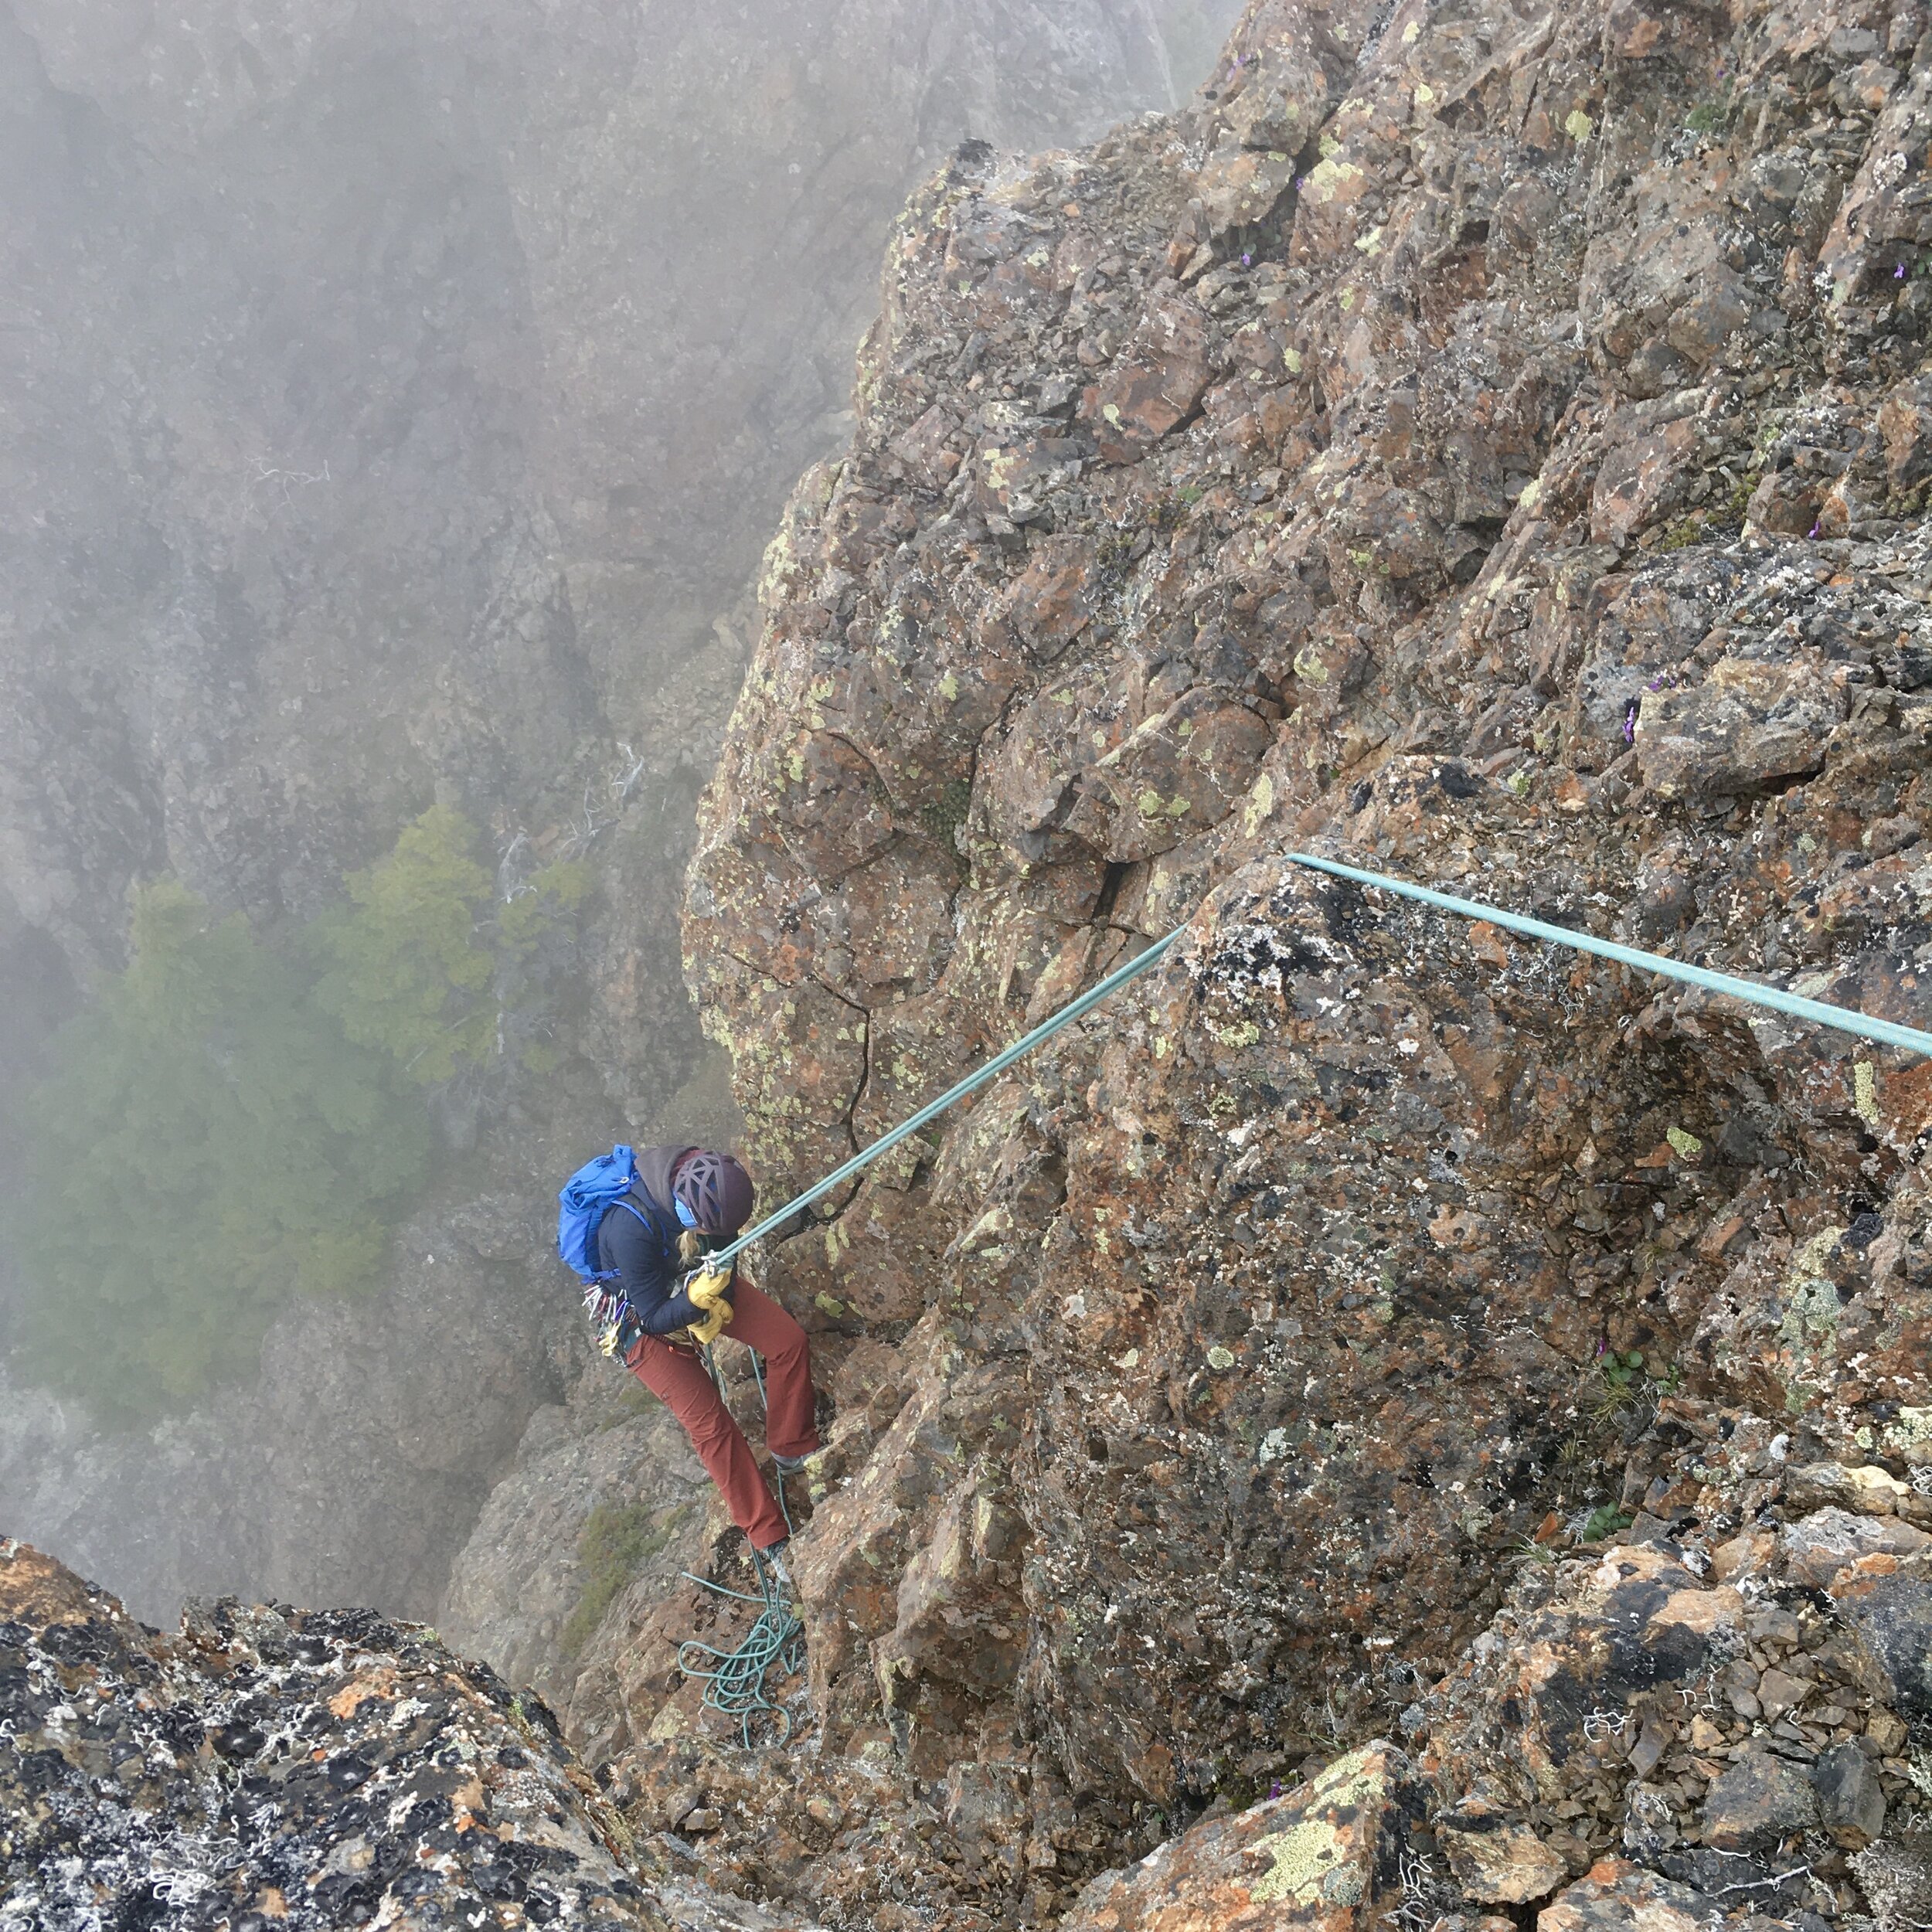
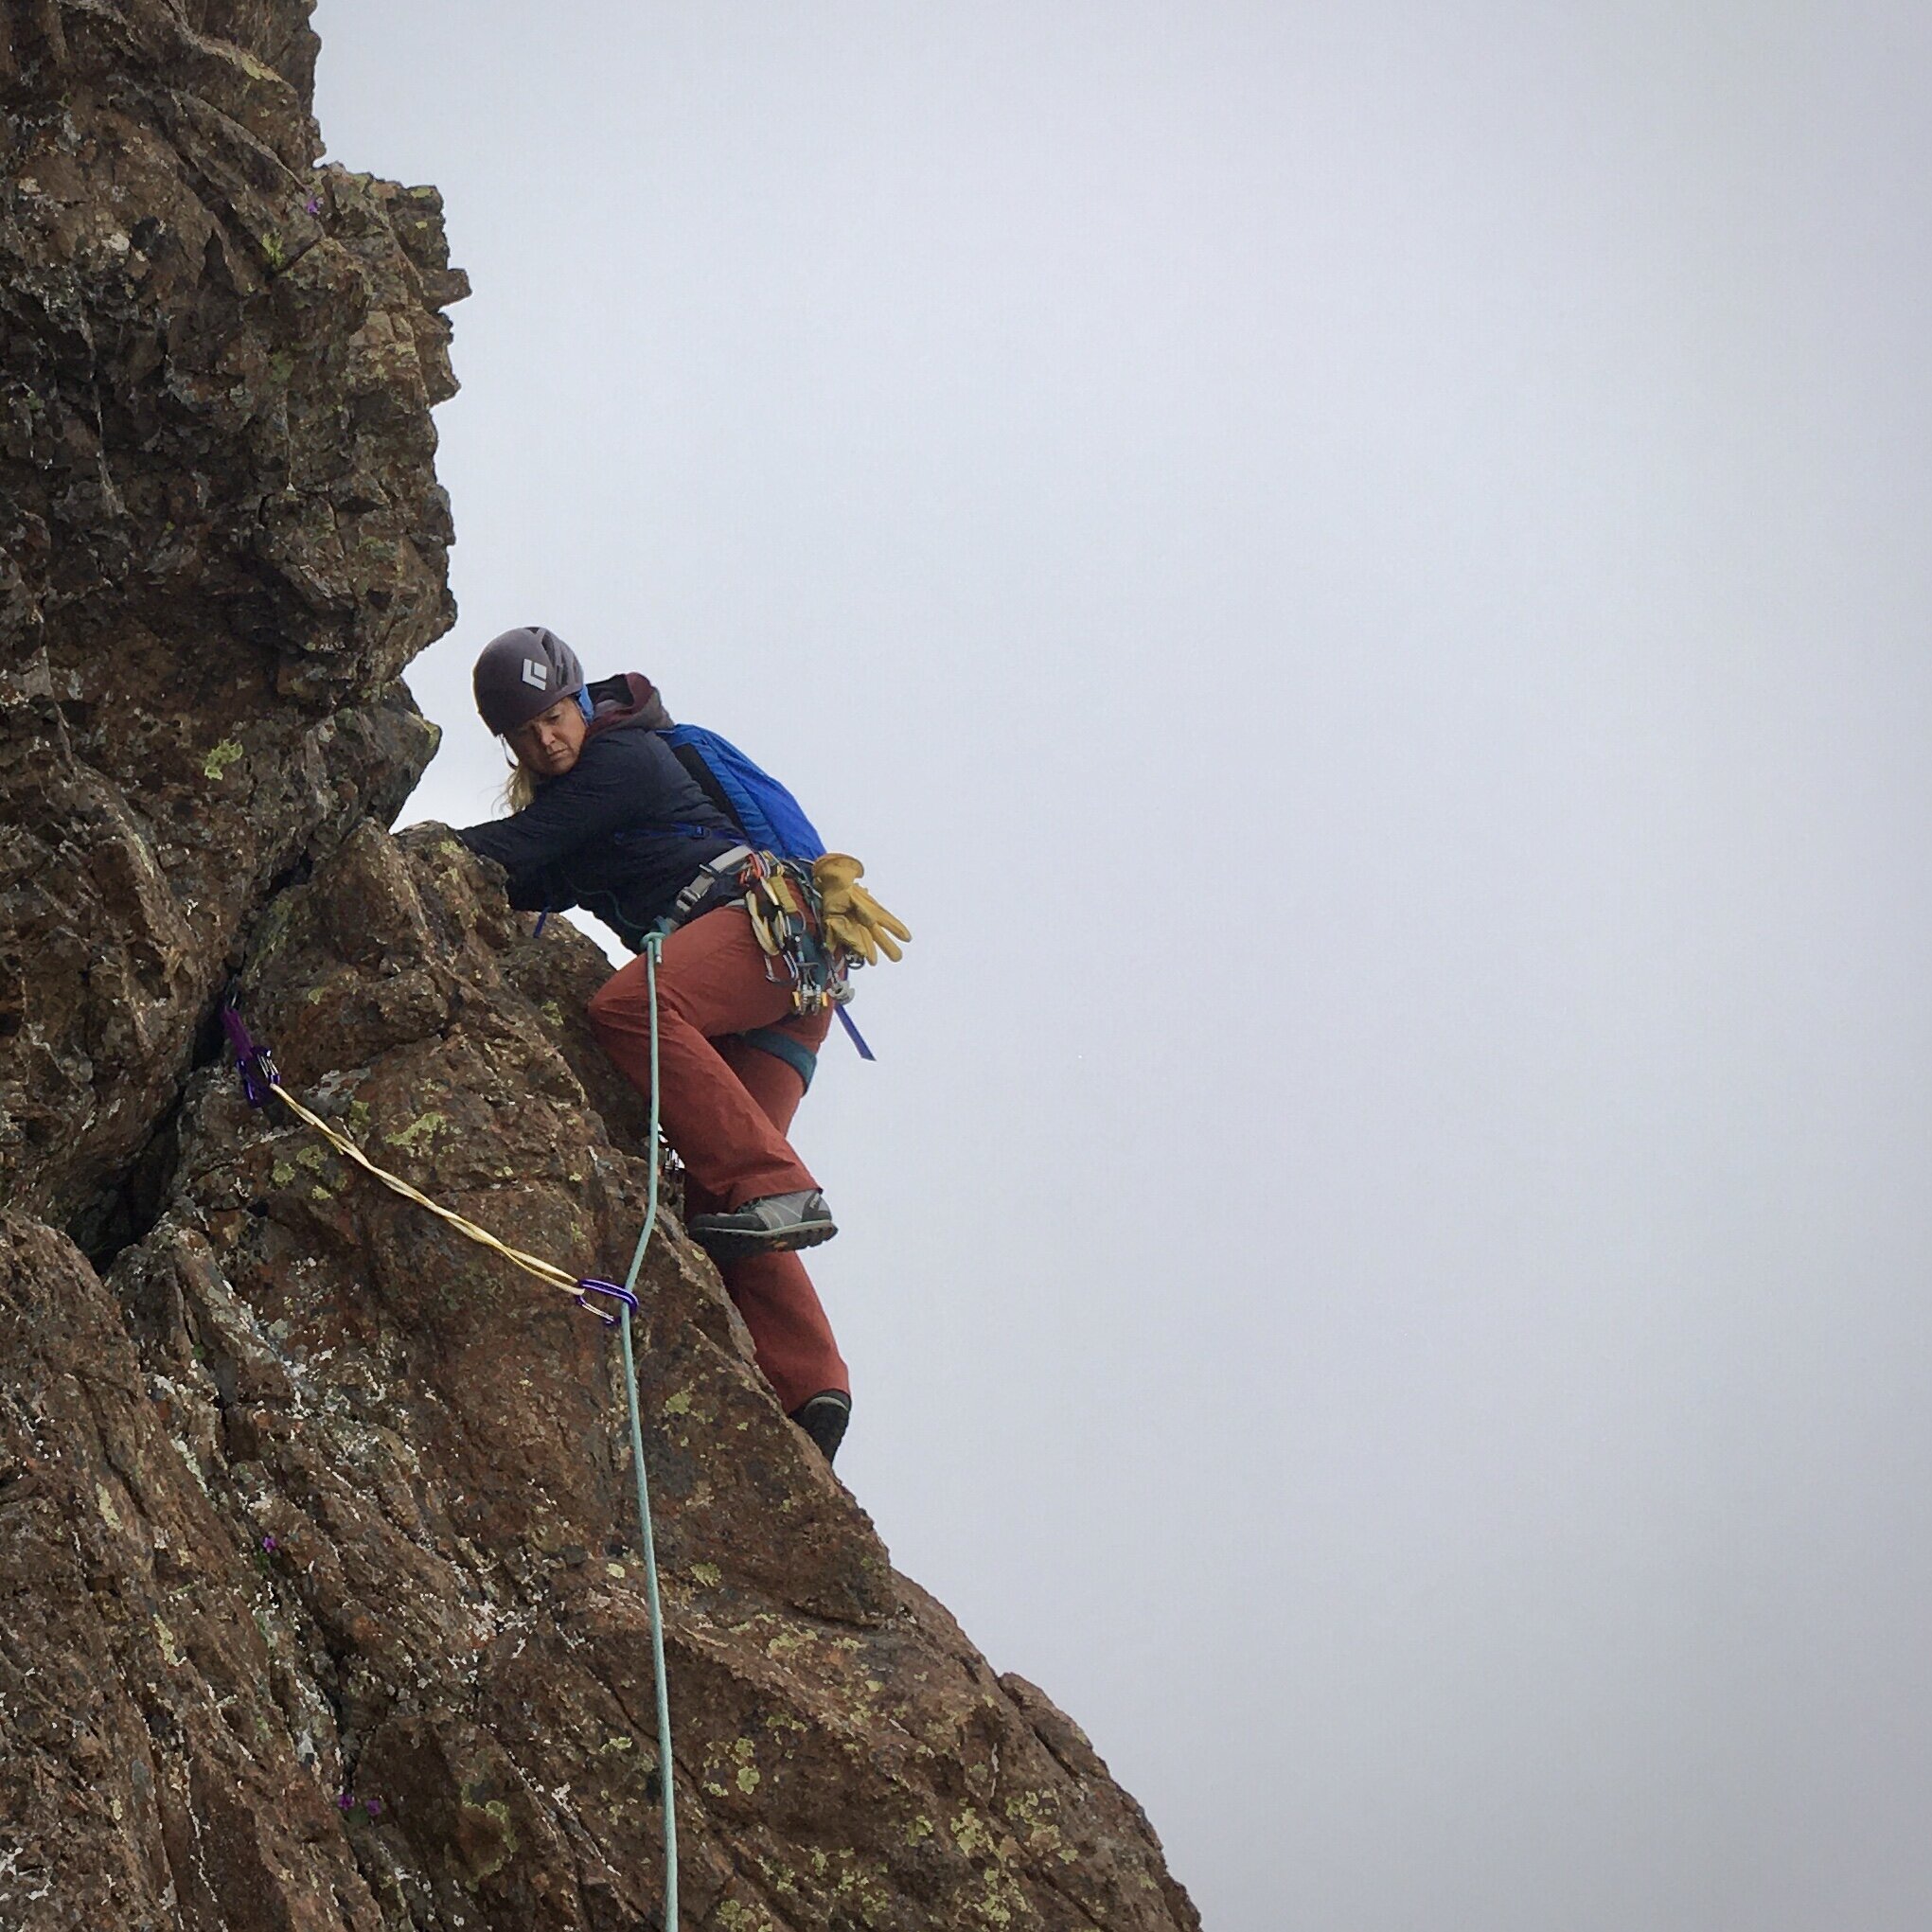
Route. The first bolt of pitch 1 is visible from the ground. This pitch is the only fixed protection of the whole route - 2 bolts and a bolted anchor for 35m. There is also 2-3 opportunities to place gear, one between each bolt. Still, 5 pieces of protection in 35 meters equals run outs of 5.8 meters (19’). This is the nature of this route - very compact rock with good climbing but few protection opportunities. Be mentally prepared.

Edited topo of our ascent, bypassing the 5.7 crack and 5.3 chimney described in the guidebook. Tower names and rappels added as well.
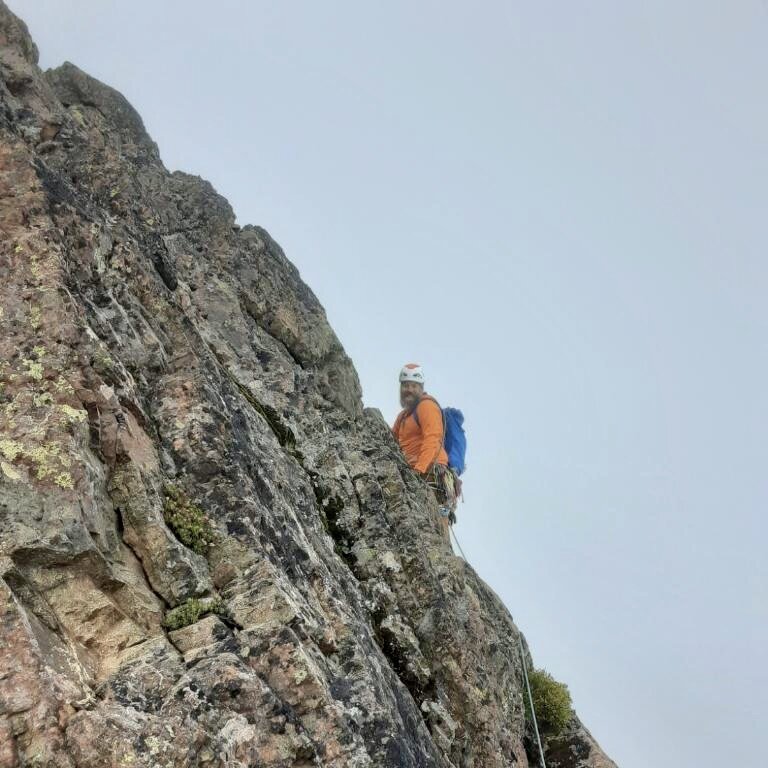
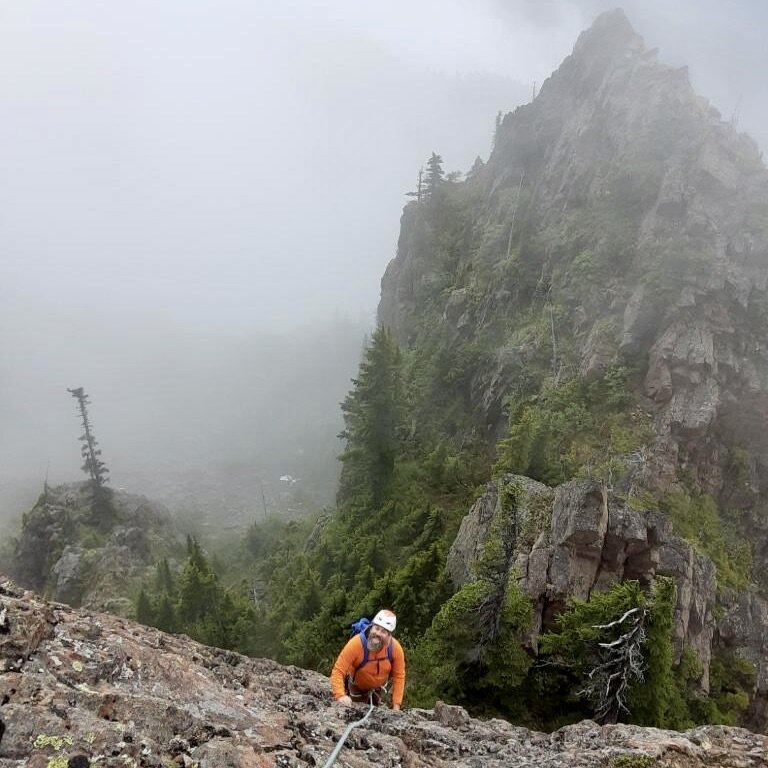
We regained and stayed almost directly on the ridge, or just off to the right of it as protection dictated, for 6 more pitches before reaching the Parapet. Each pitch was 35-40 meters long, allowing for easy communication and minimal rope drag. We never saw the 5.7 crack or 5.3 chimney described in the topo. I think we identified the ledges leading to these features, but they were choked with vegetation and remaining on the ridge crest seemed a better option. Difficulties ranged from 3rd to 5.6/5.7, with no more than 4 pieces of protection in a pitch. A short traverse right to a 15m pitch up a wide crack lead into the Parapet proper. 3 hours to here, perfect for a long break spot.
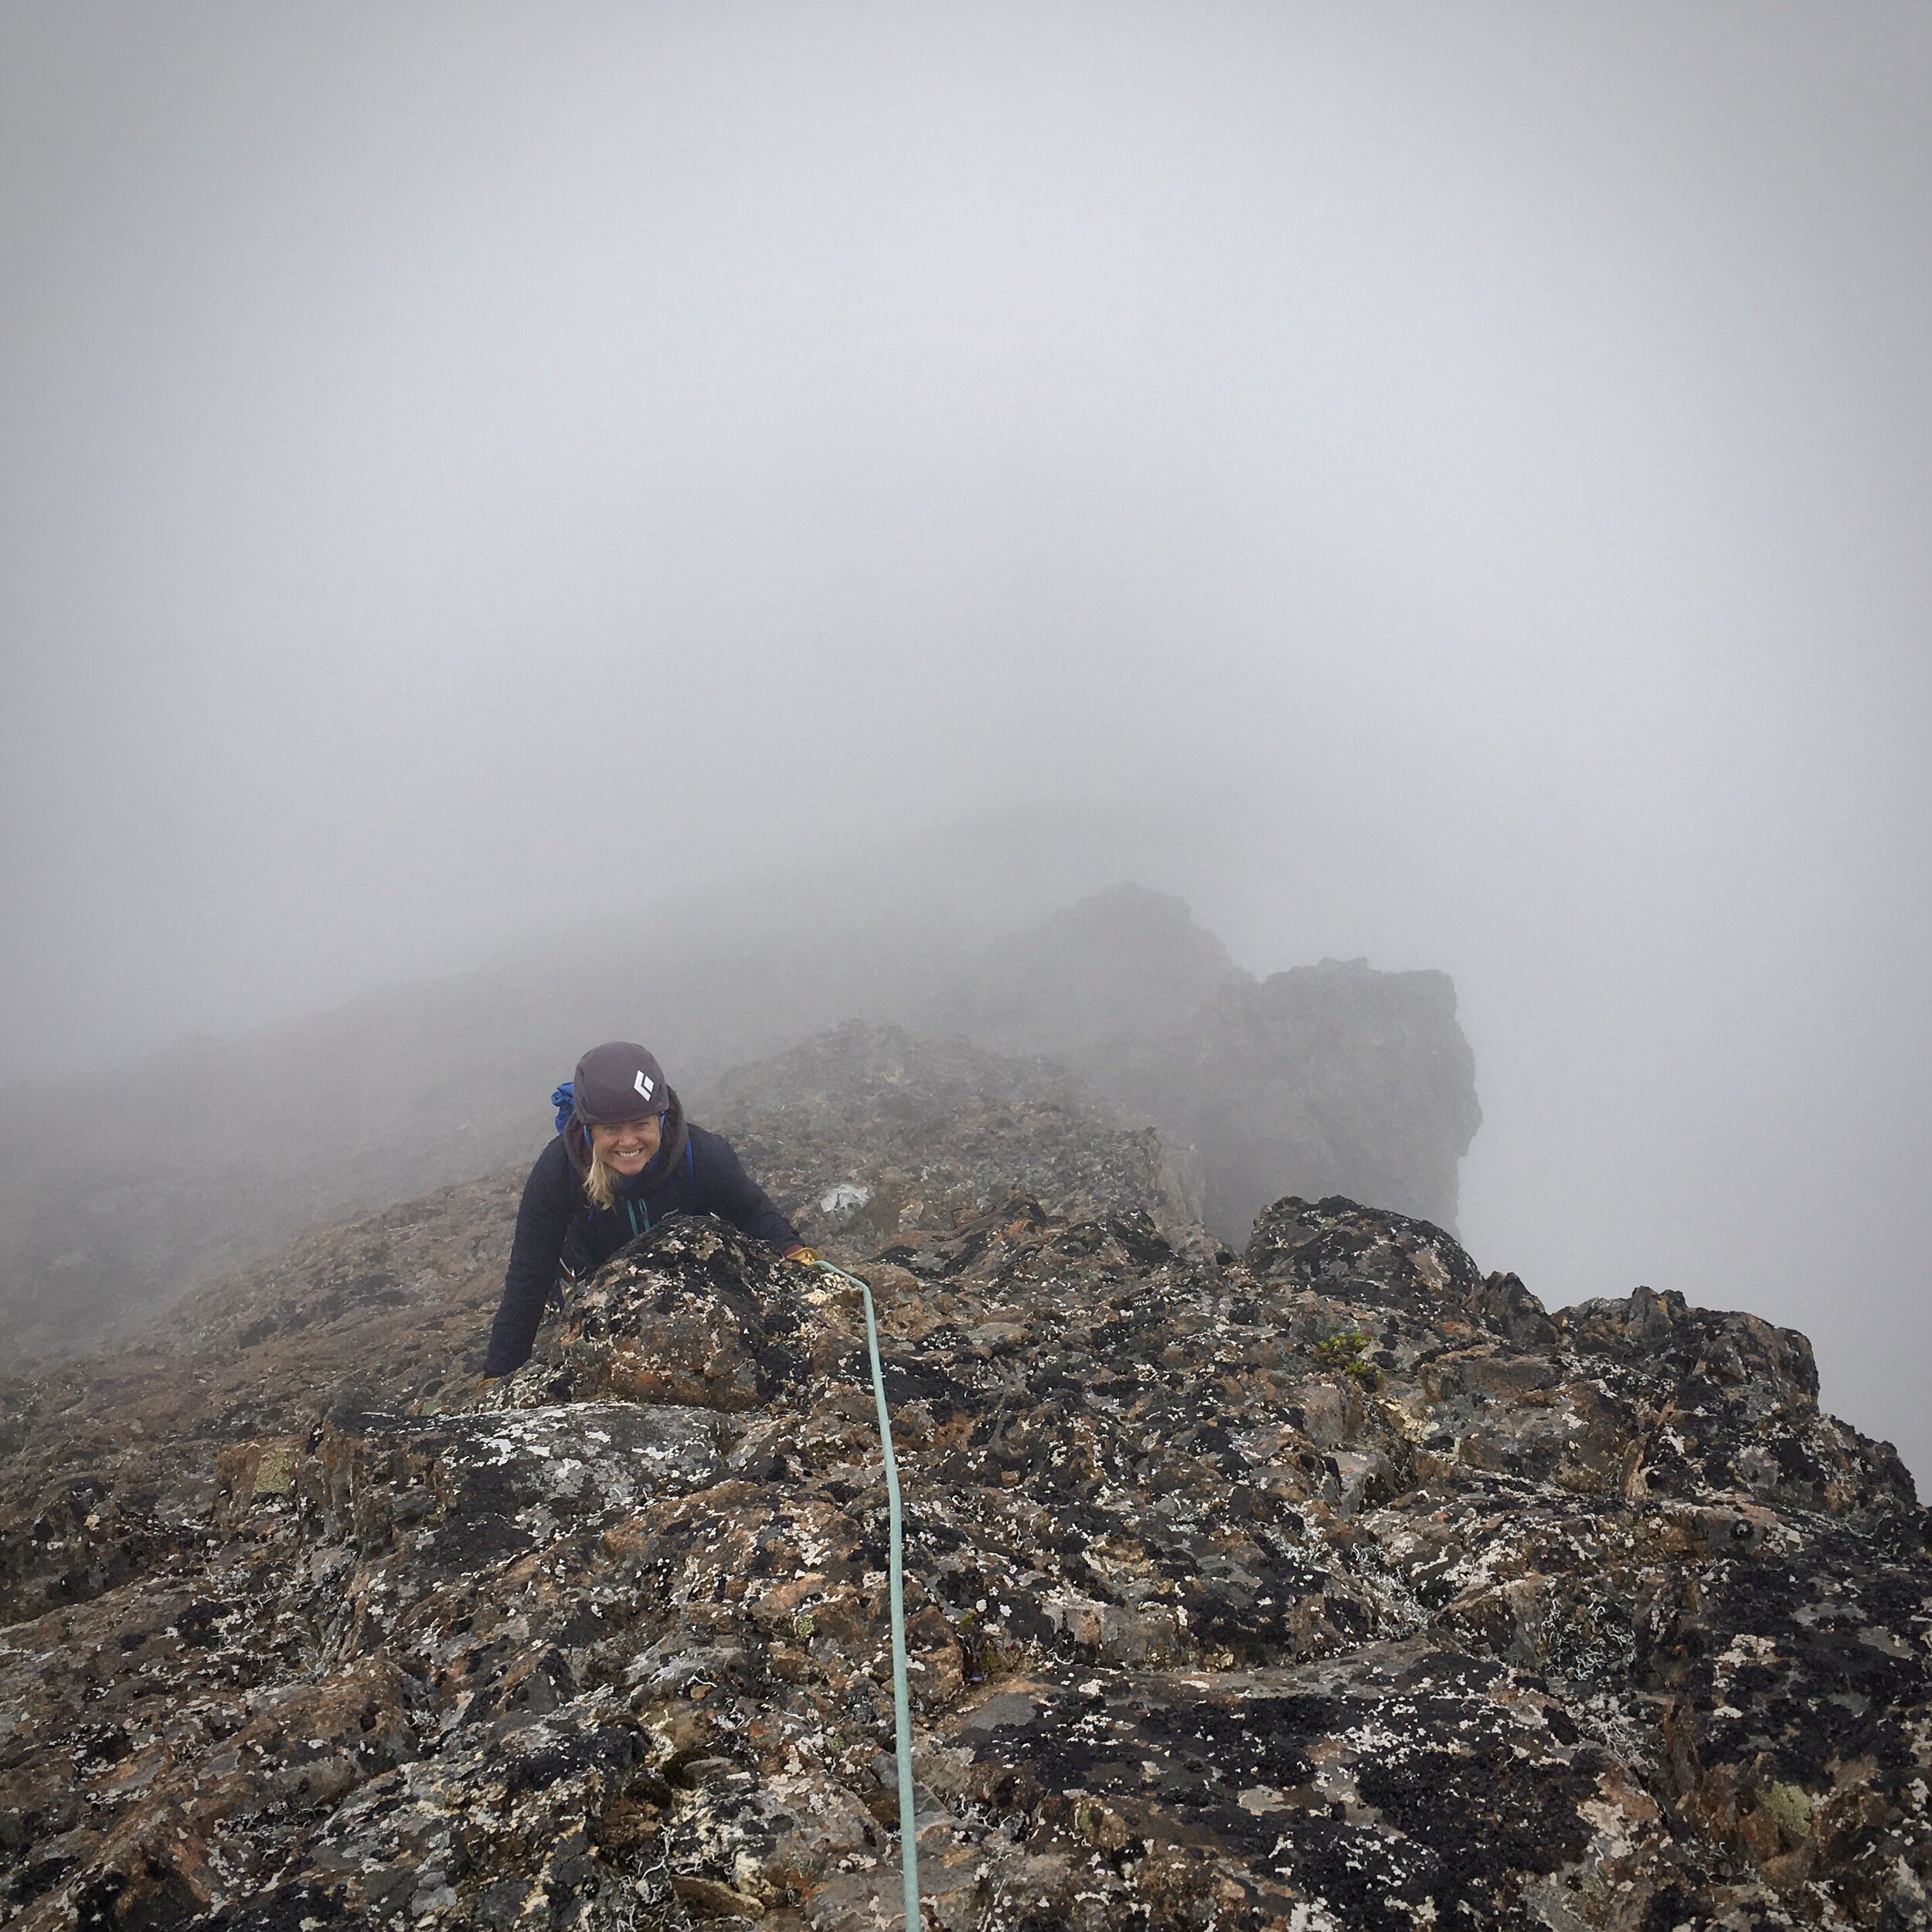
Three Towers separate the Shied Wall from the Last Wall, each requiring 1-2 pitches to surmount. A 20m rappel exits the Parapet to the notch, and 1-2 pitches of climbing up the First Tower leads to easier terrain. A short walk down the other side leads to the second rappel, approximately 30m.
Note: As of 3 July 202, both rappels featured adequate cord/slings and a milled aluminum rappel ring (opposed to a a rolled aluminum ring, milled aluminum has a 20kN rating). The first (off the Parapet) also featured 3 rolled aluminum rappel rings placed unnecessarily to back up the milled rappel ring. Still, I would bring one cordellette on future climbs in case conditions have changed.
The Second Tower is 1 pitch of climbing leading to a short walk to the notch for the Third Tower. 1-2 pitches leads to another scramble to the last notch.
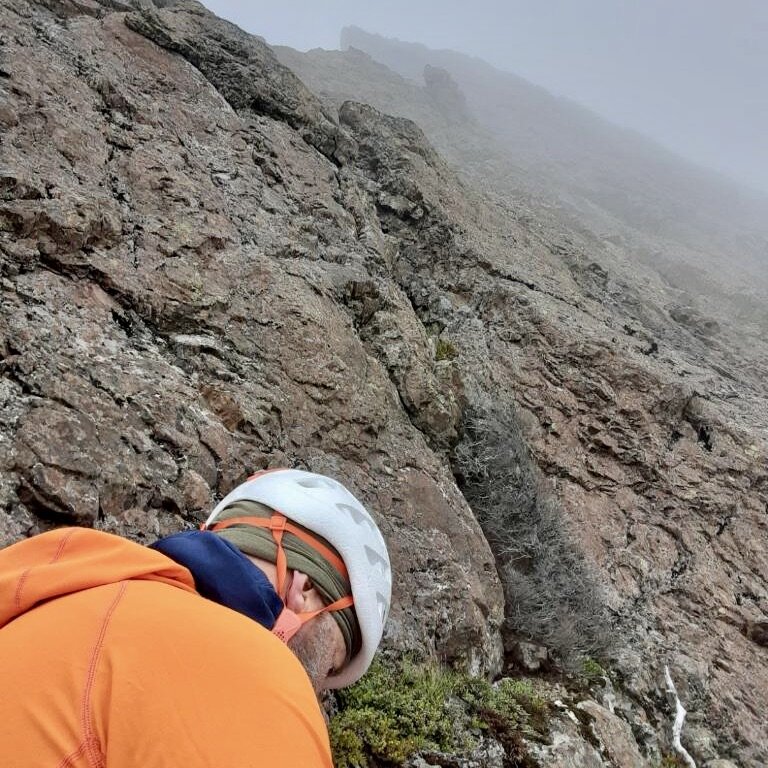
2 pitches of climbing up to 5.6 ascends the Last Wall. Here the technical climbing is over - feel free to pack up the climbing gear and prepared for a hike. Alternatively, a short hike and the summit block can be taken head-on for a few more pitches of climbing.
Continue up the ridge until you run into the Route 1 trail from the left. The Summit Block begins soon afterwards, which can be climbed pitched out, or continue to follow the trail as it traverses to the right and underneath the summit to the other side. Don’t be fooled by a couple of opportunities to climb upward - keep traverses around the summit until you easily gain the north-east ridge line, then double back on the ridge to the summit. 4 hours from the Parapet to here, 7 hours total climbing not including breaks.
Descent. Be prepared for a steep, quad-killing descent of 3255’ in approximately 2-2.5 miles. From the summit, a beautiful rock-walled bivy sight it visible on the SW ridge - that’s the descent trail too. Descend the NE ridge to the traverse trail, follow it back around to the SW ridge, then continue to follow the trail down. This is the (technically) easiest route on Mt Washington, so whenever in doubt look for logical paths that have received the most traffic. The trail exits onto NF 2419 just where you parked your car. Approximate 2 hours descent. Note: the road closure post-dates guidebook publication, and the trail has been re-routed - the descent (Route 1) now exits between NF 014 and Big Creek, not as shown on page 66.
Note: Car-to-Car in 11:30, on the move for 10:00. Car-To-Summit 9.00, on the move for 8.00. This time may have been 15-30 minutes faster without the snow encountered at the Shield Wall.
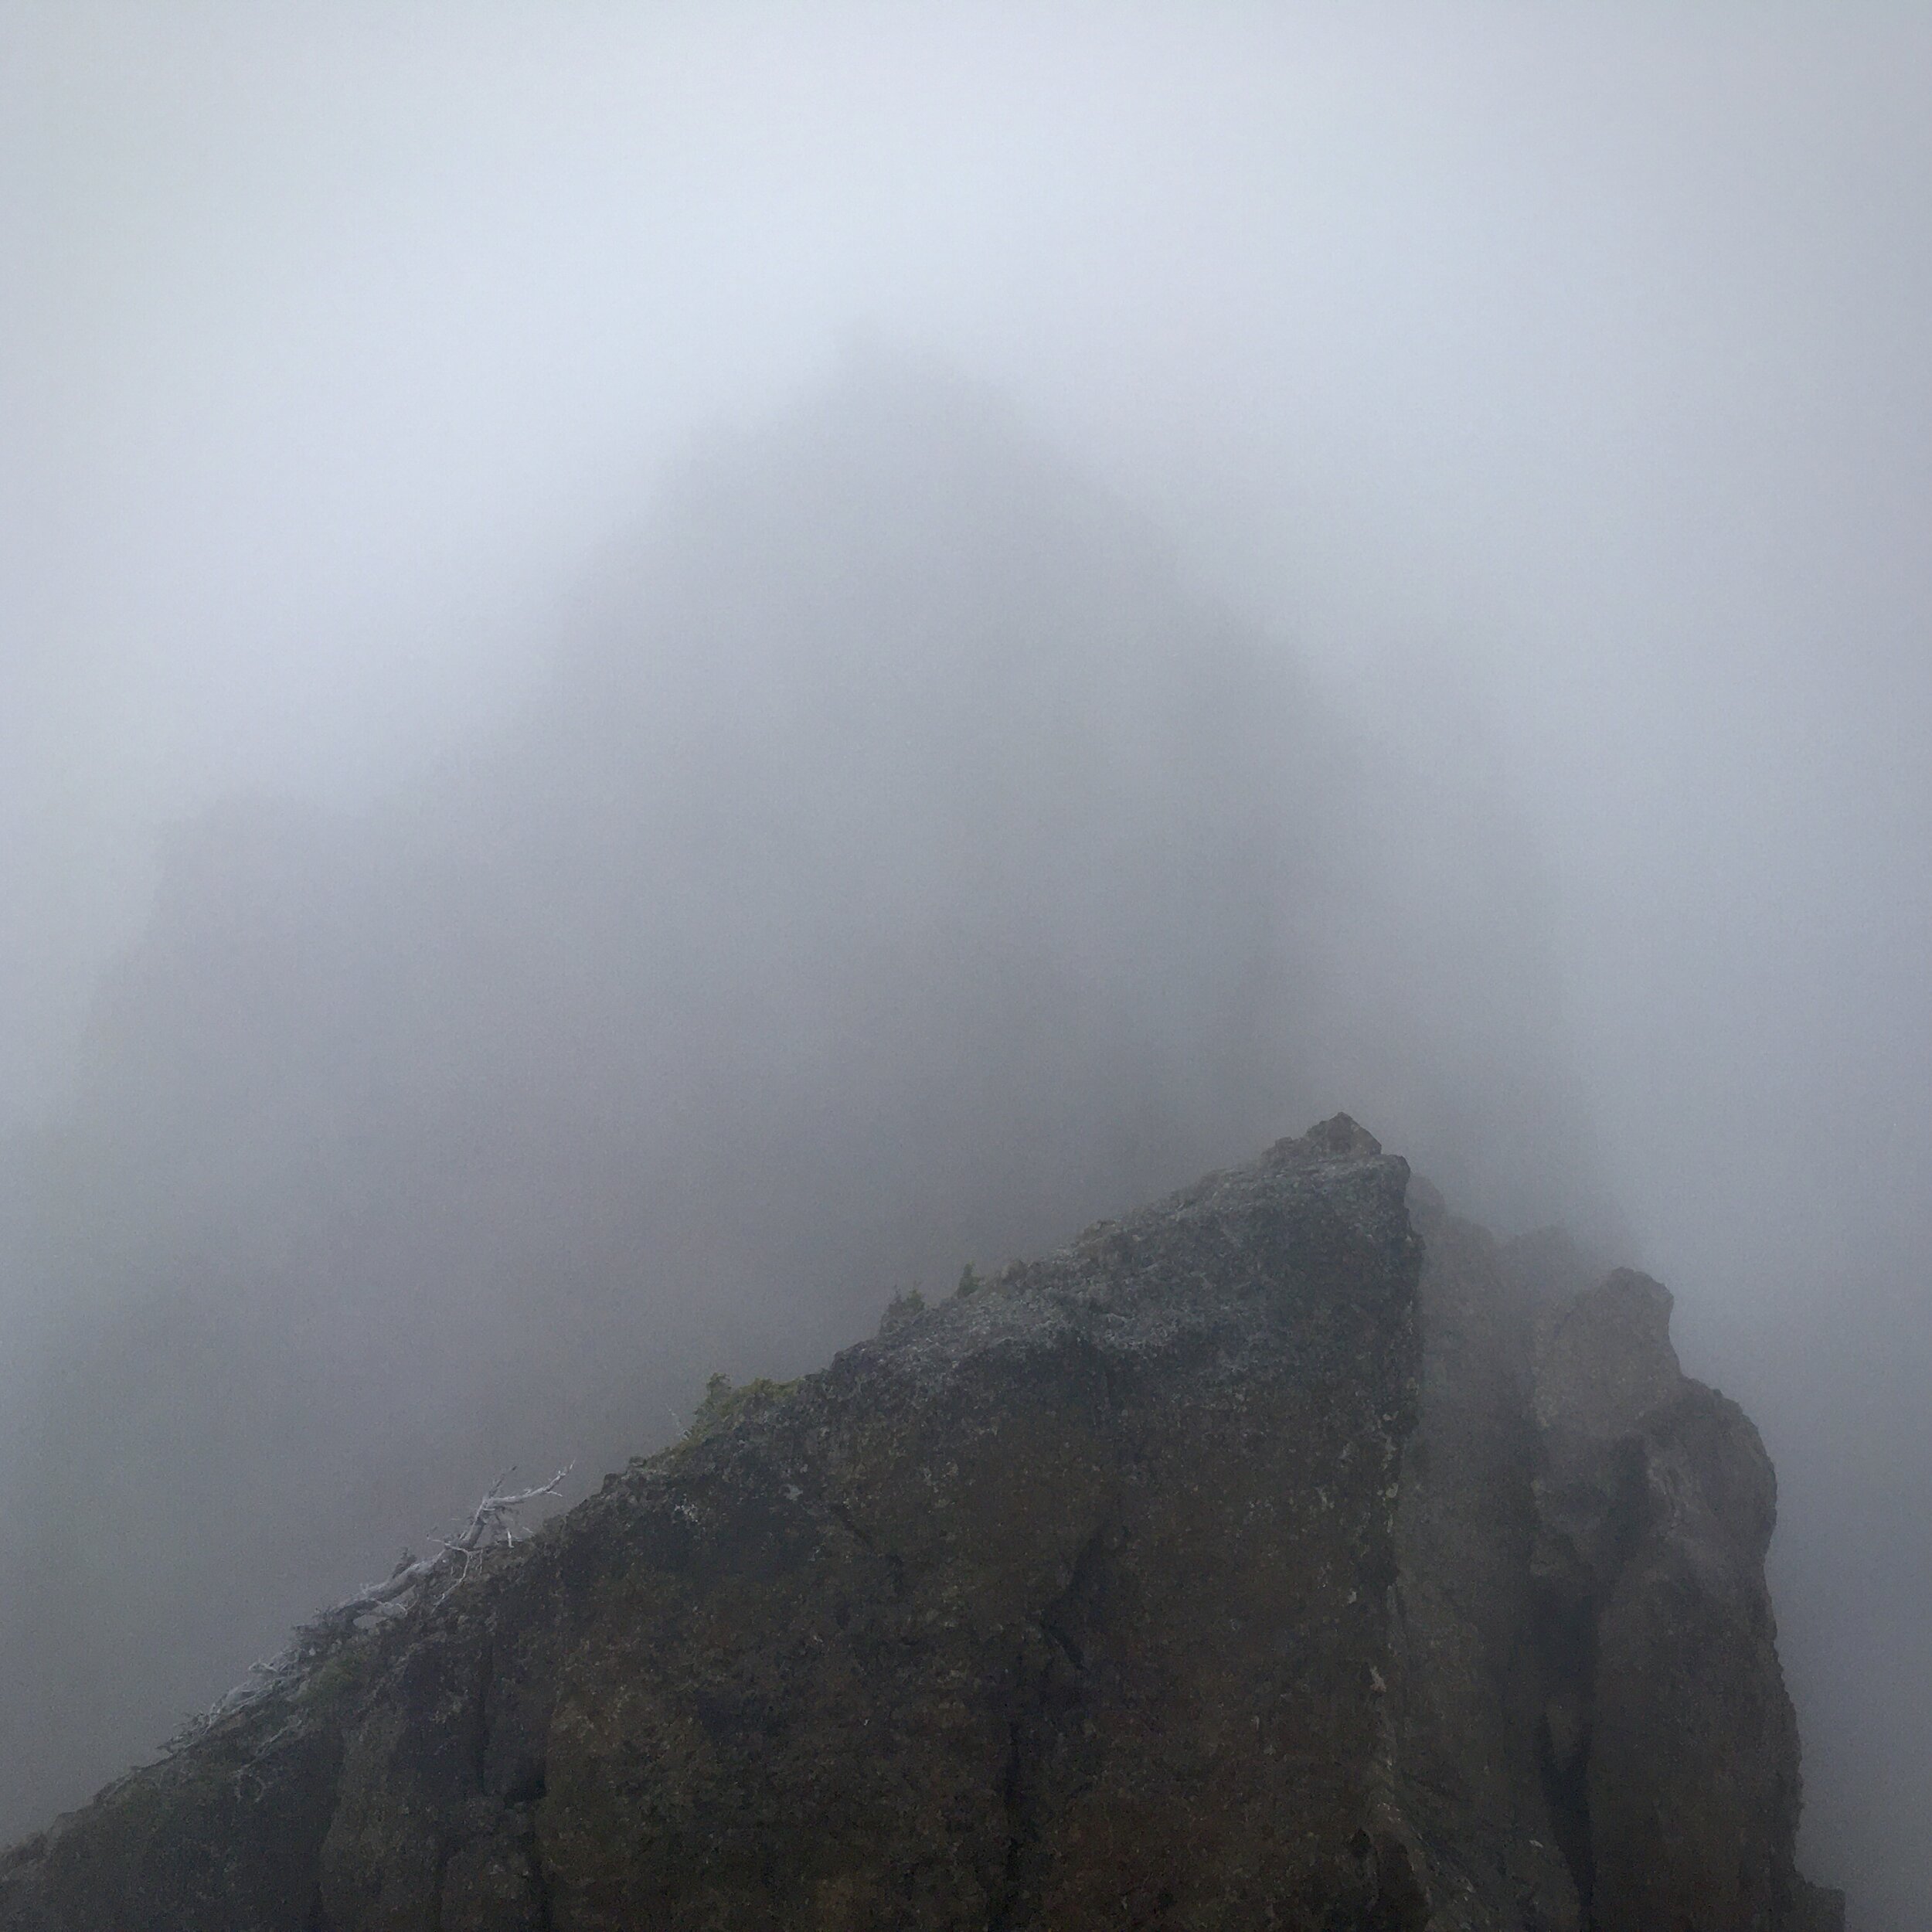
Conclusion. This is a great route, a logical step up in difficulty from the alpine routes at Snoqualmie Pass. I would happily repeat it, especially since the forecasted clearing skies never happened and almost our entire ascent was enshrouded in clouds, limiting our views and making it chilly!
References: Olympic Mountains, A Climbing Guide, 4th edition, 2006. By the Olympic Mountain Rescue, published by Mountaineer Books. Pages 65-71, Route 3 & Route 1; pages 255-257.